Crafts, Soft Goods, Paints & Dyes, Artwork
Scroll ↓
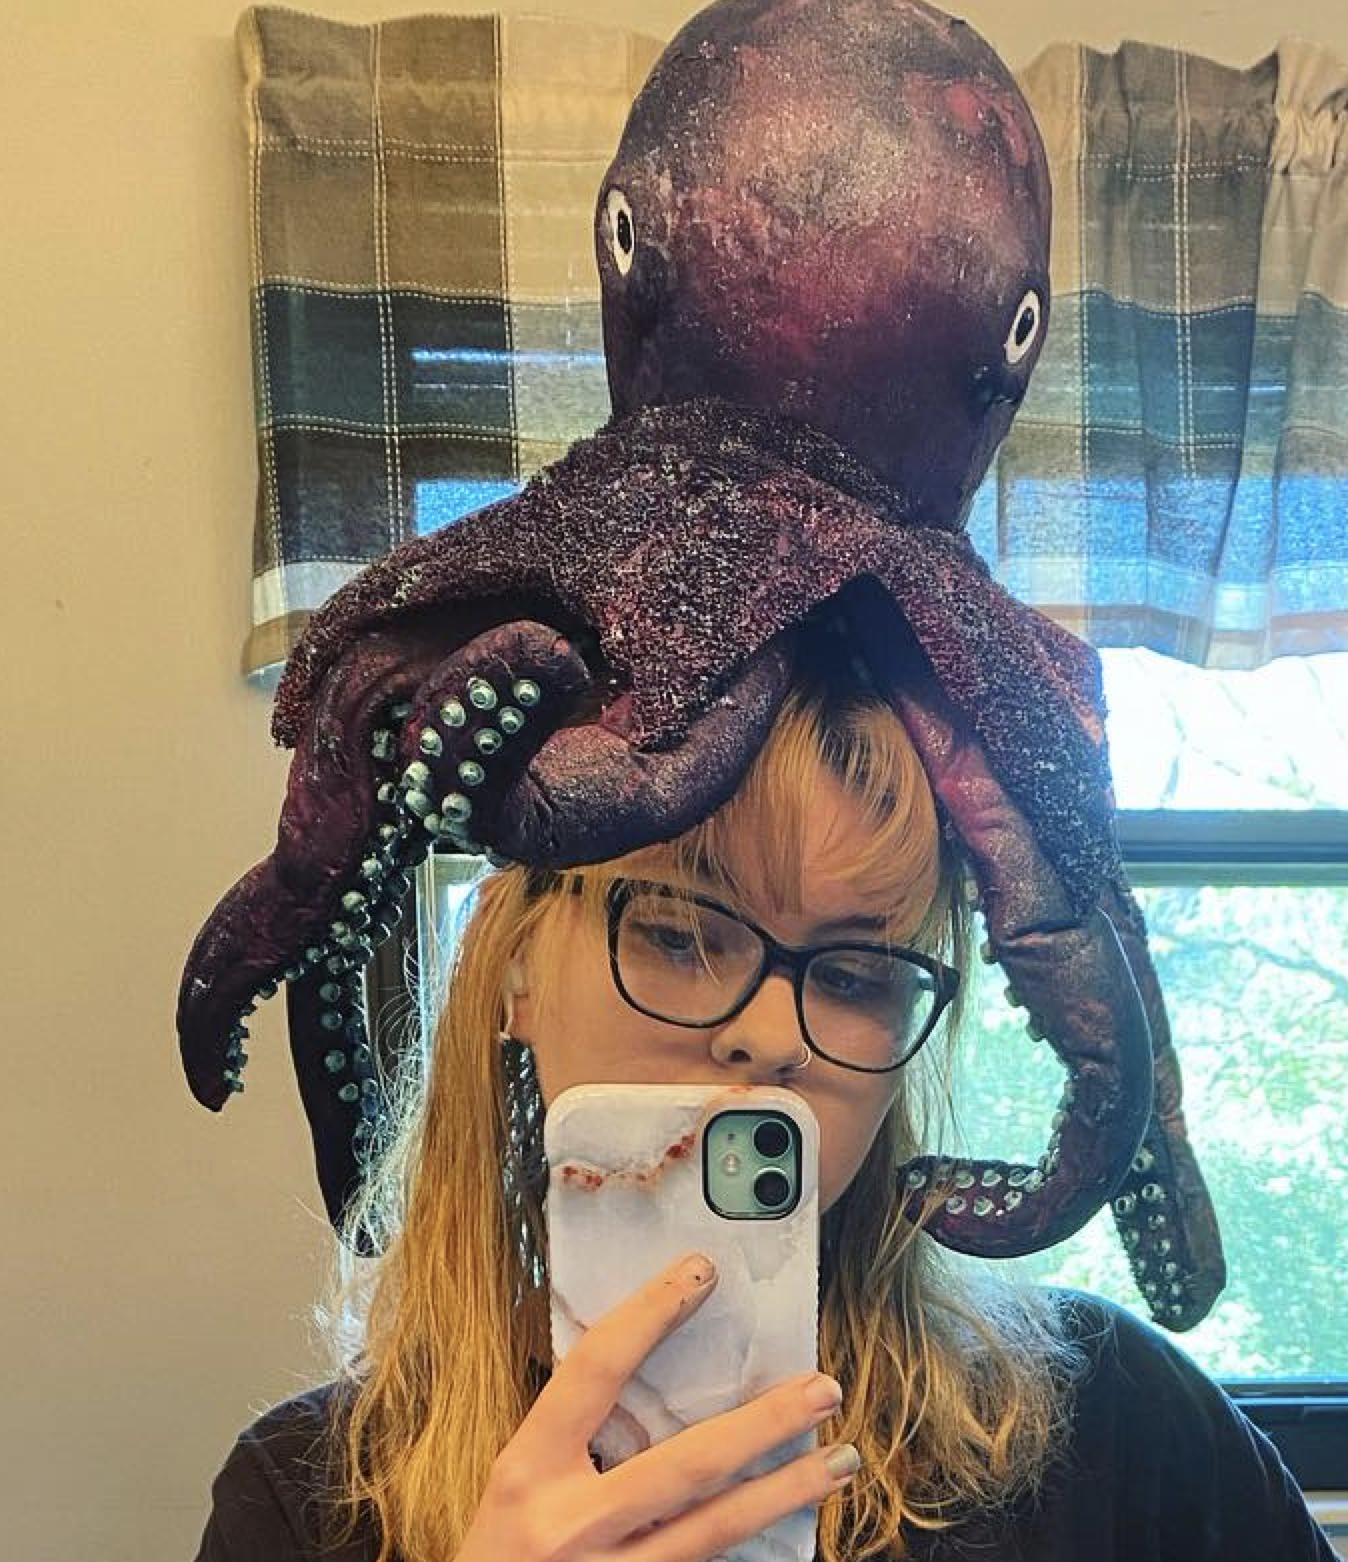
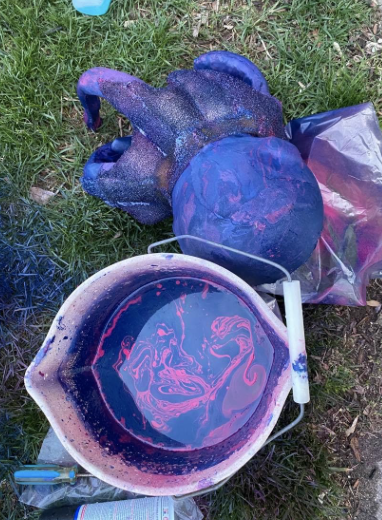
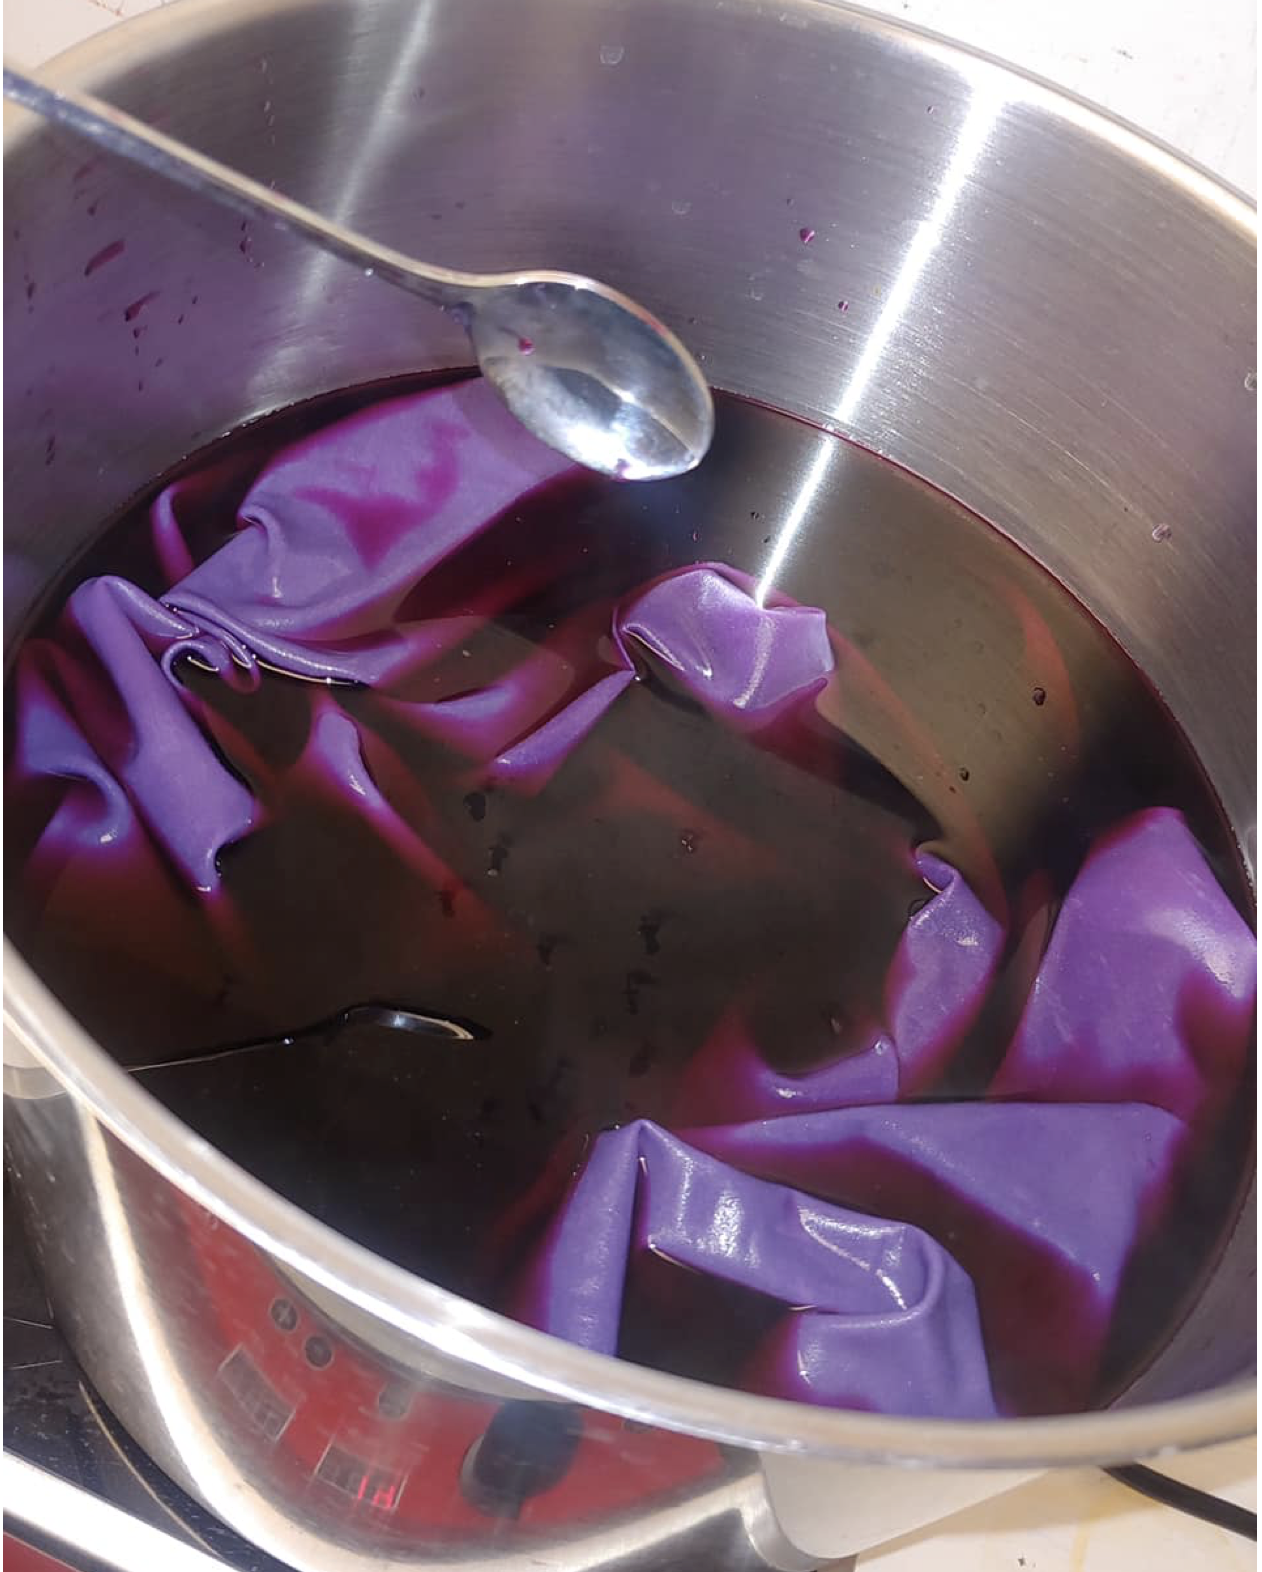
Octopus Hat
The octopus head is thermoplastic molded over a head from using a heat gun. The legs are also thermoplastic with stitched in wire and shaped upholstery foam connected using contact cement. The legs were hand-stitched to the head form then the body was covered with dyed spandex. Reticulated foam was added as a transition from the head to the legs to add shape to the body. The texture was achieved by adding spray paint to a bucket of water and dunking the octopus for several rounds to create a marbled look. Sections were also marbled using shaving cream and acrylic paint. The suctions cups begin at their largest as nuts and transition to pony beads with the tips being grommets.

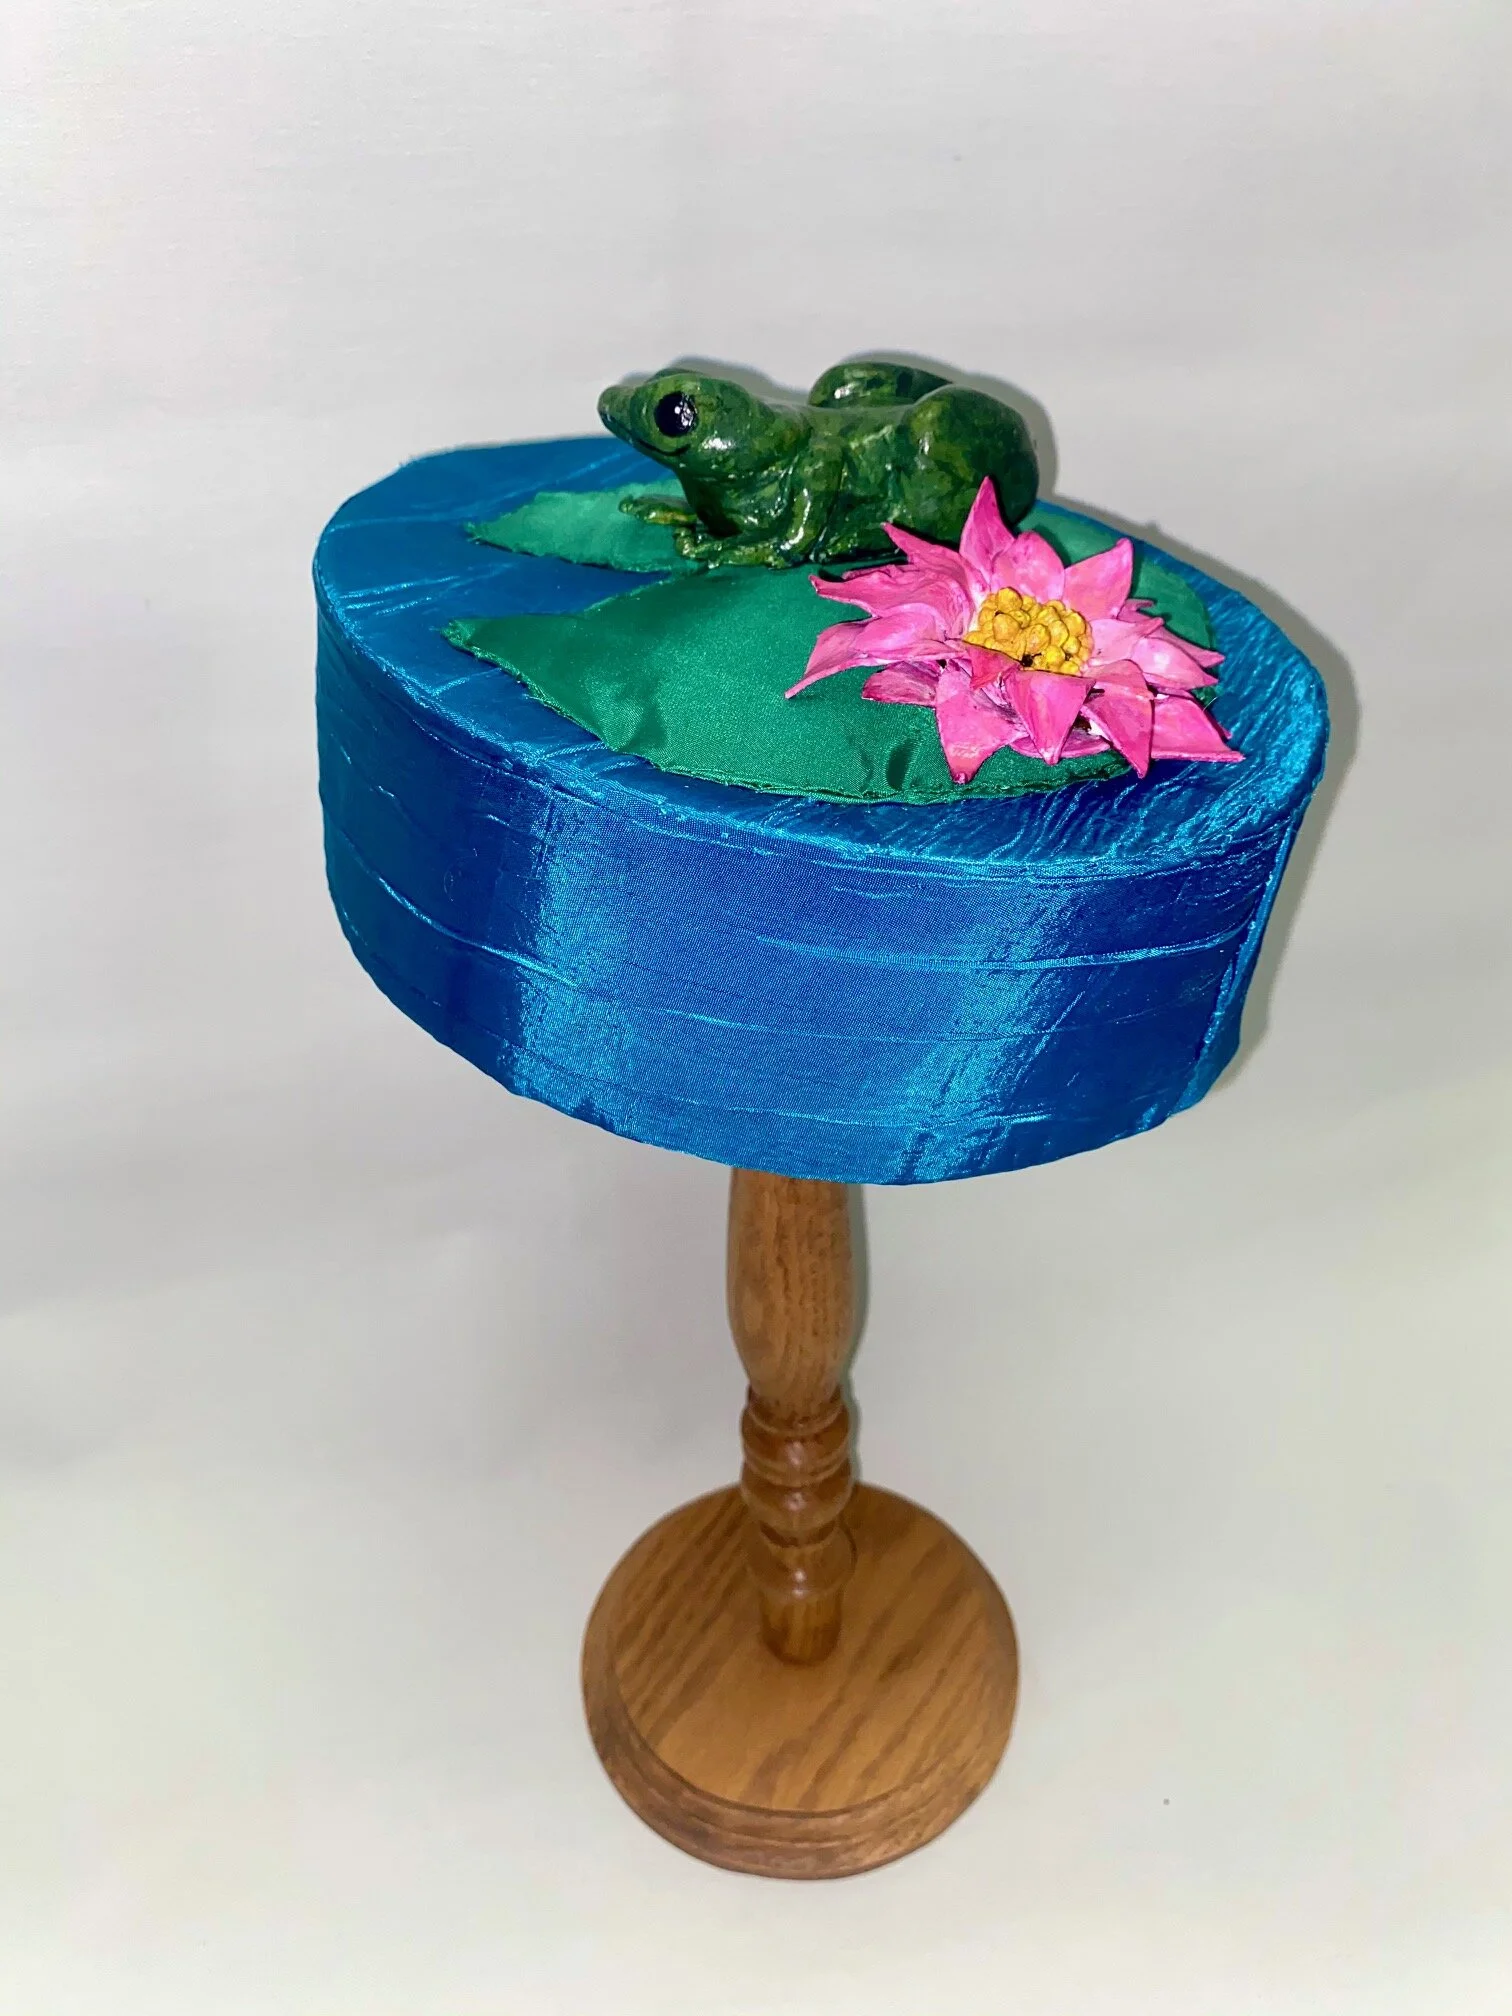
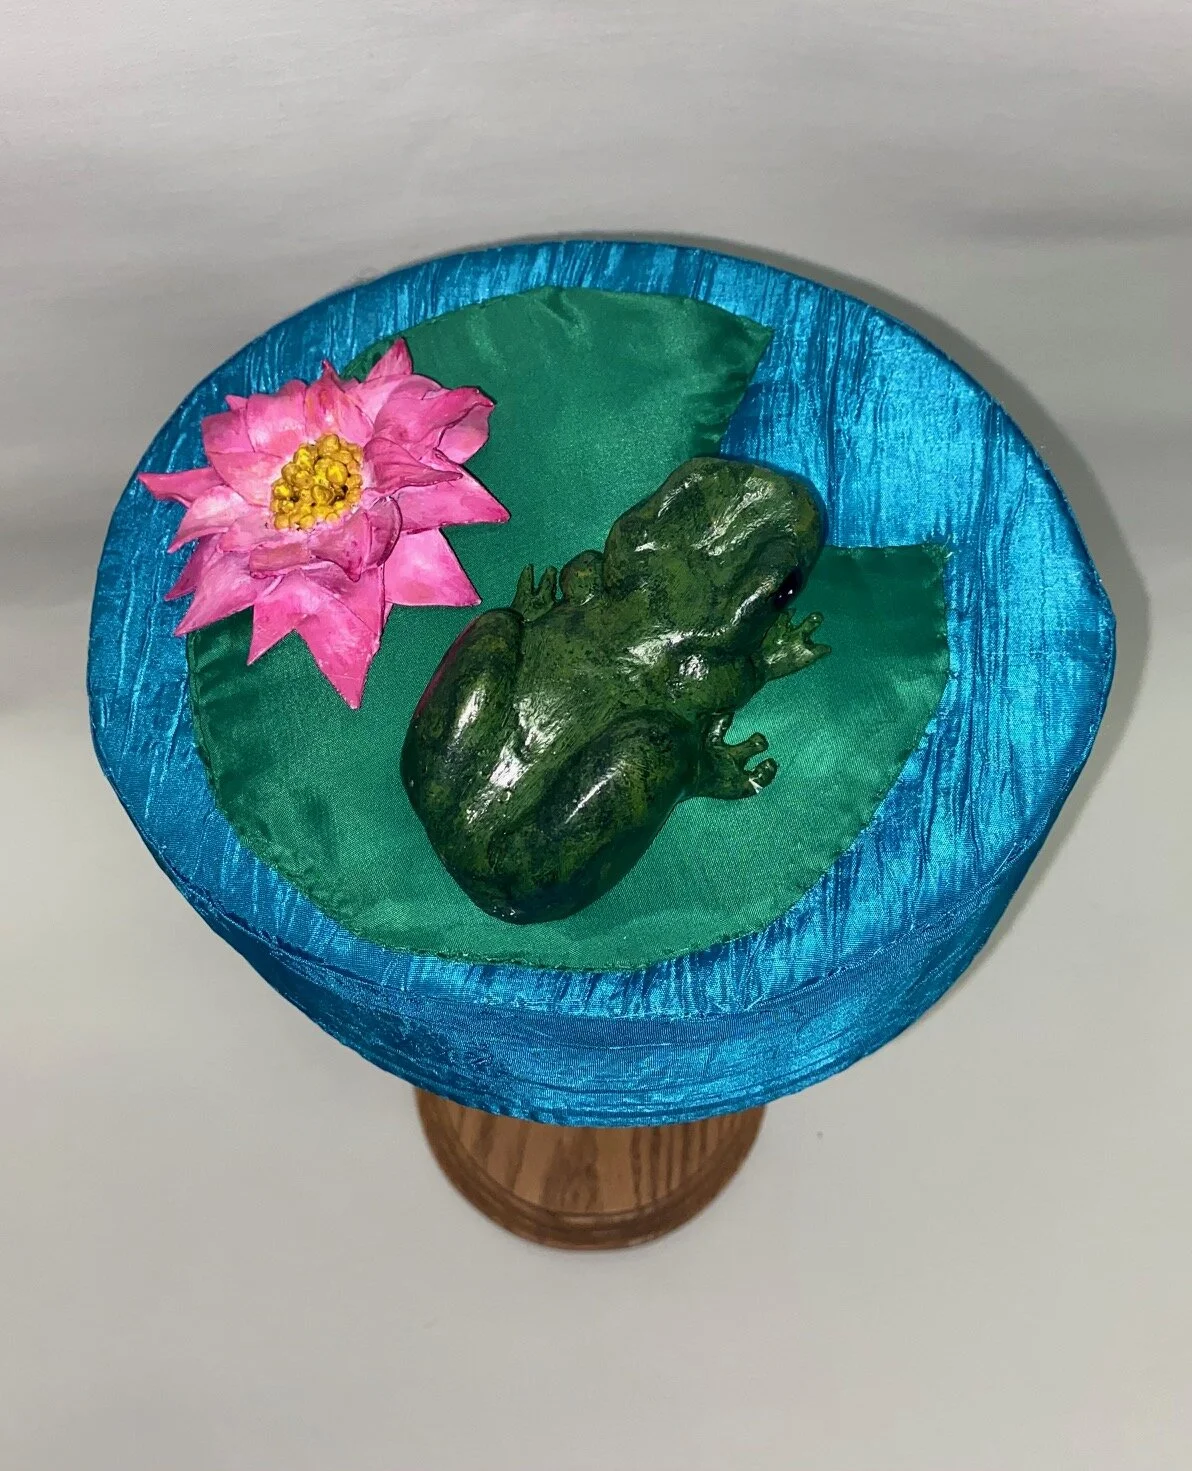
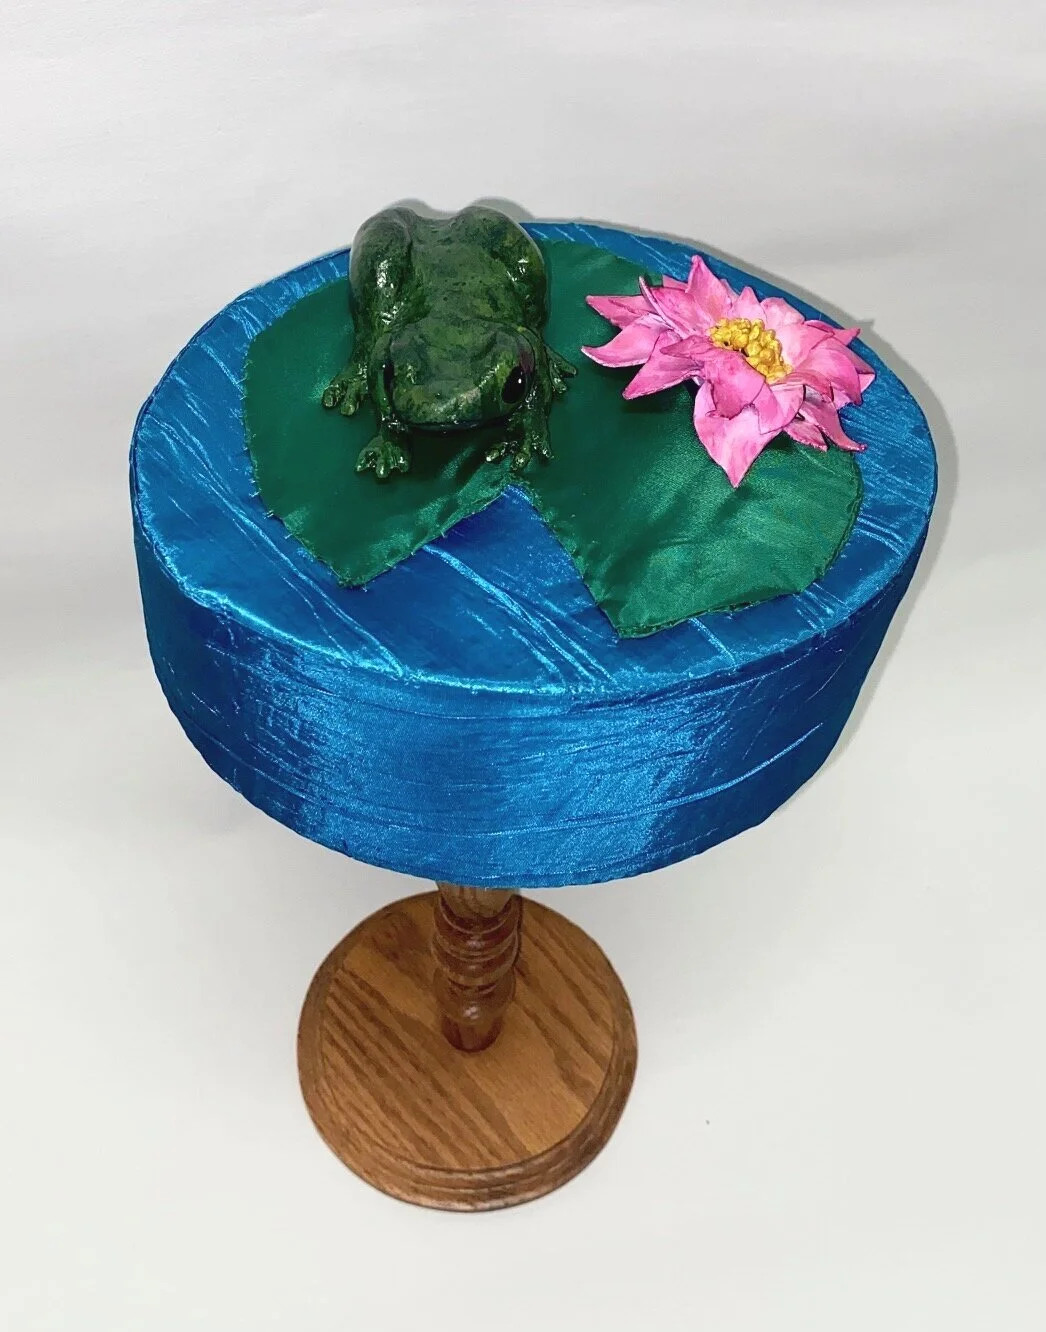
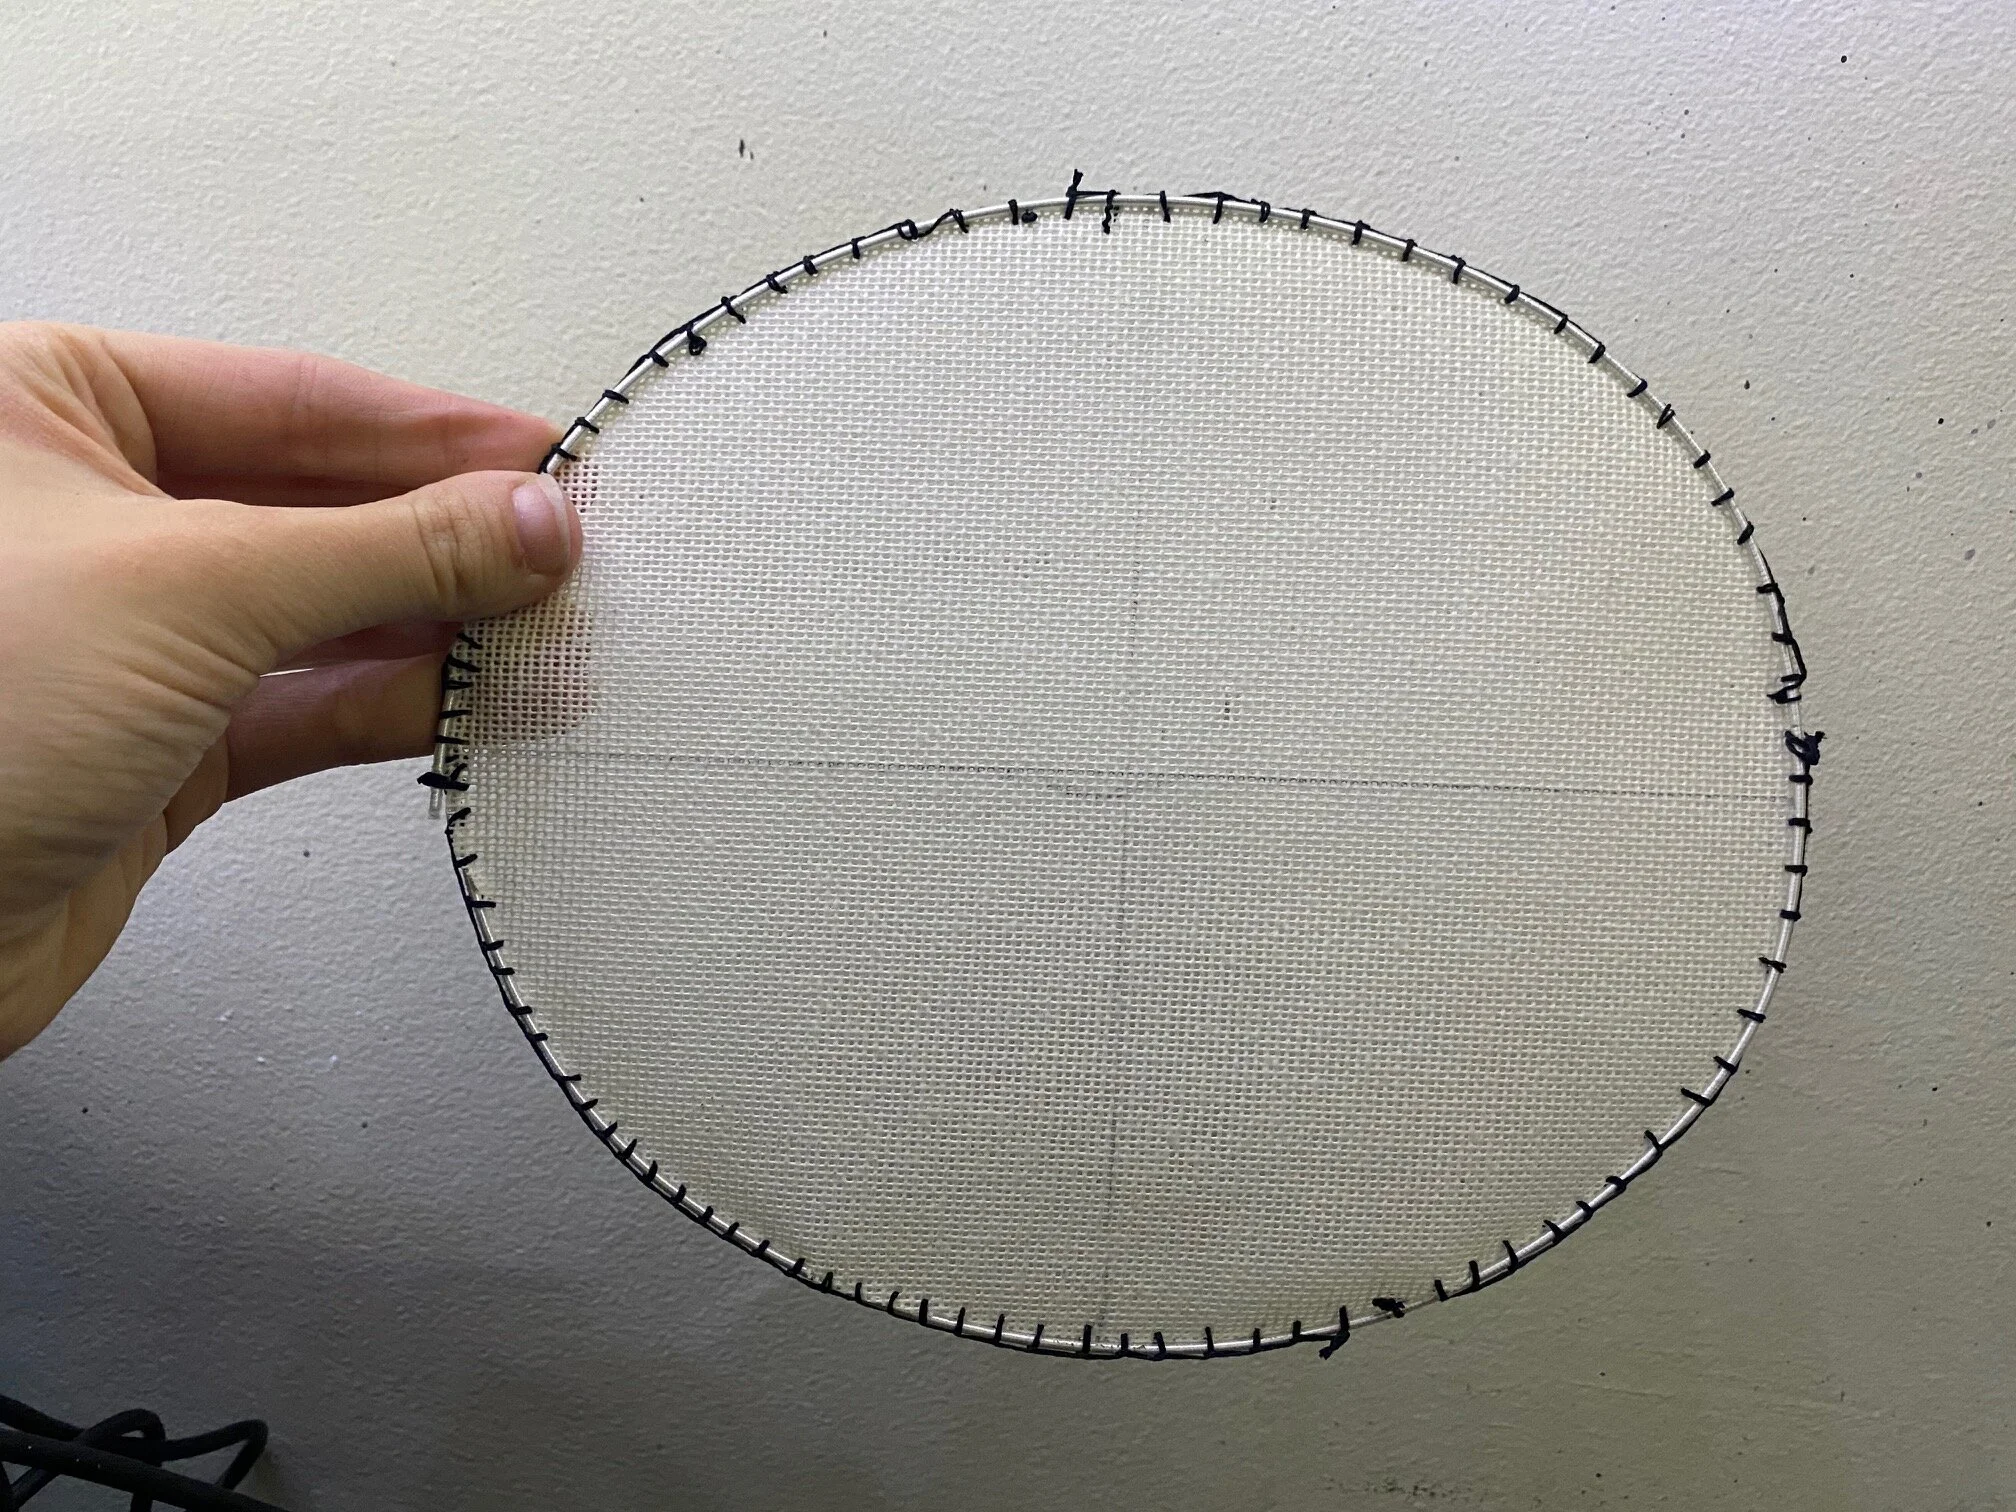
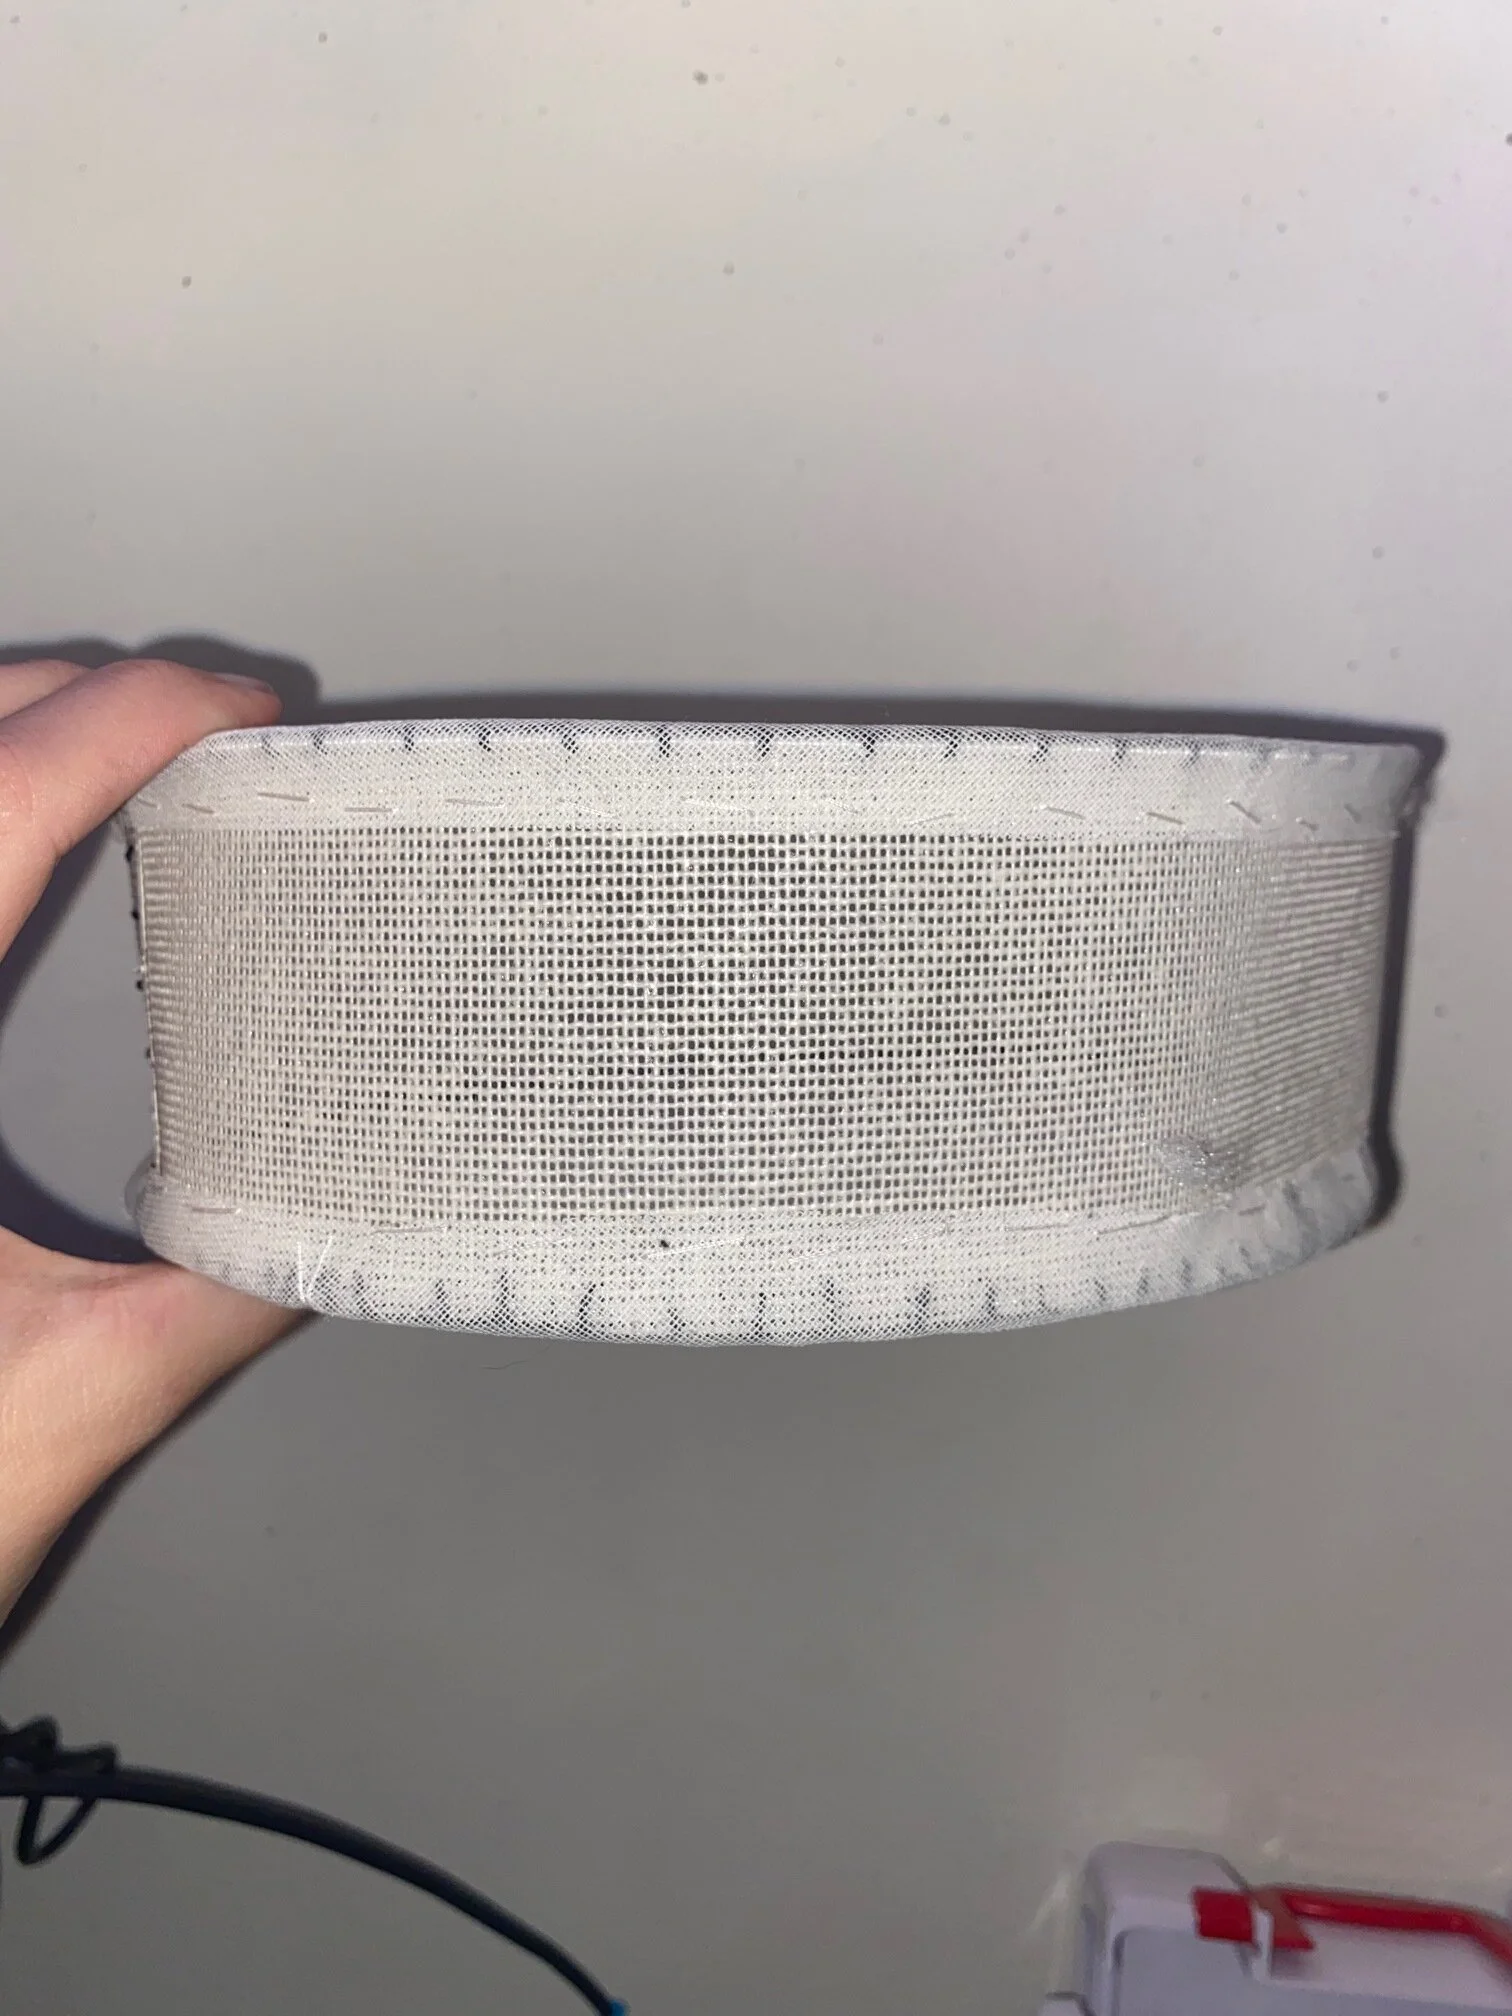
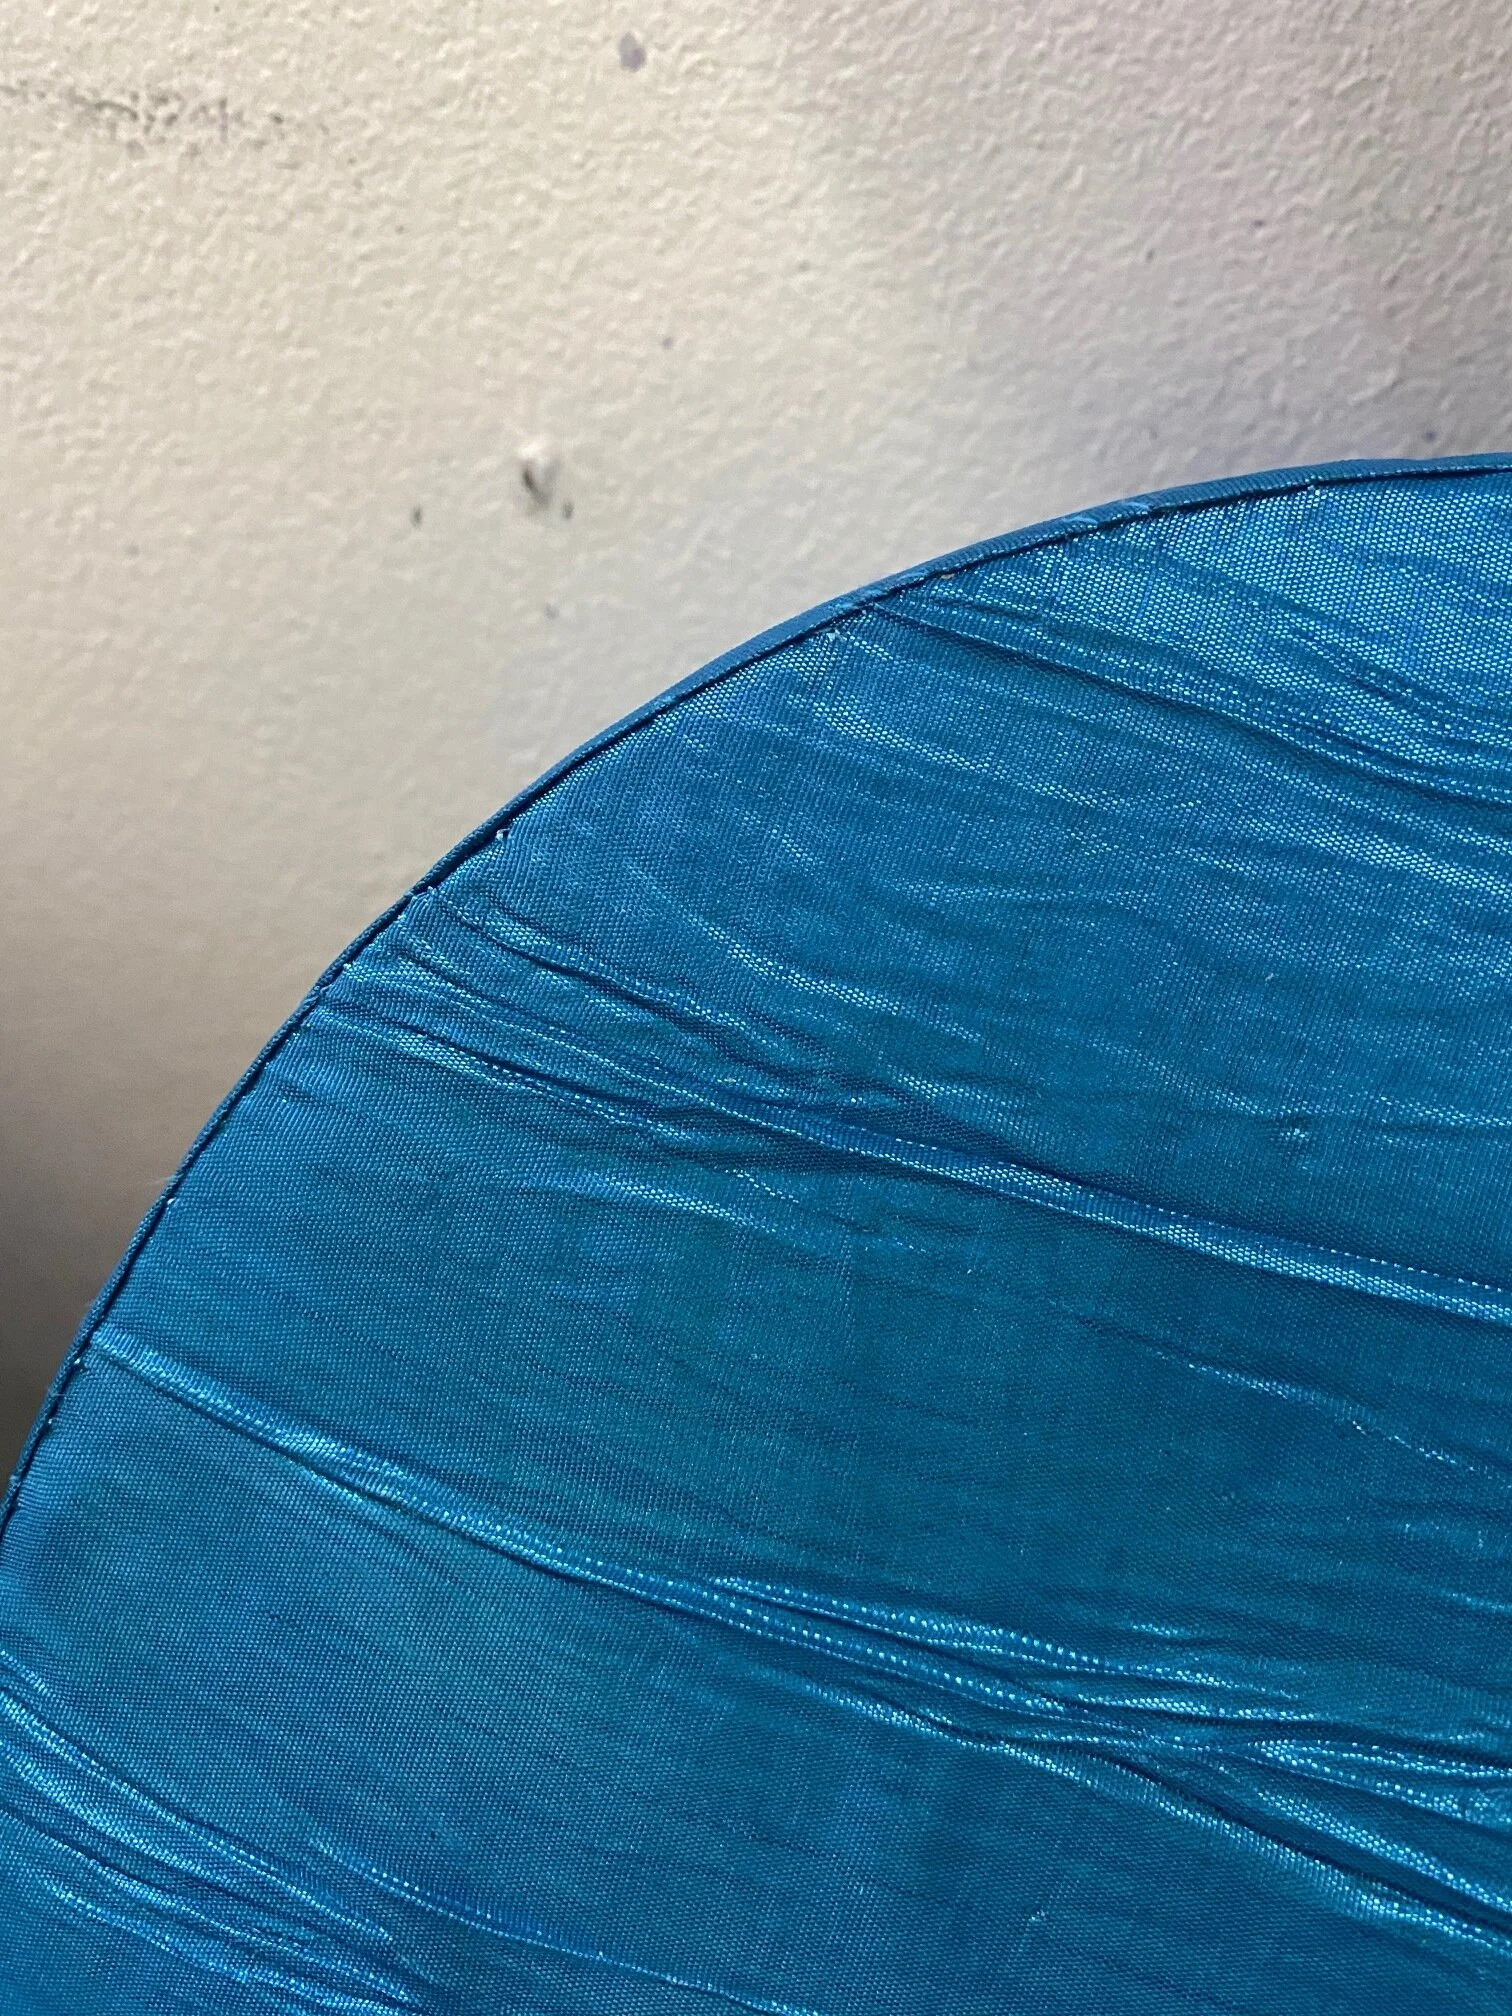
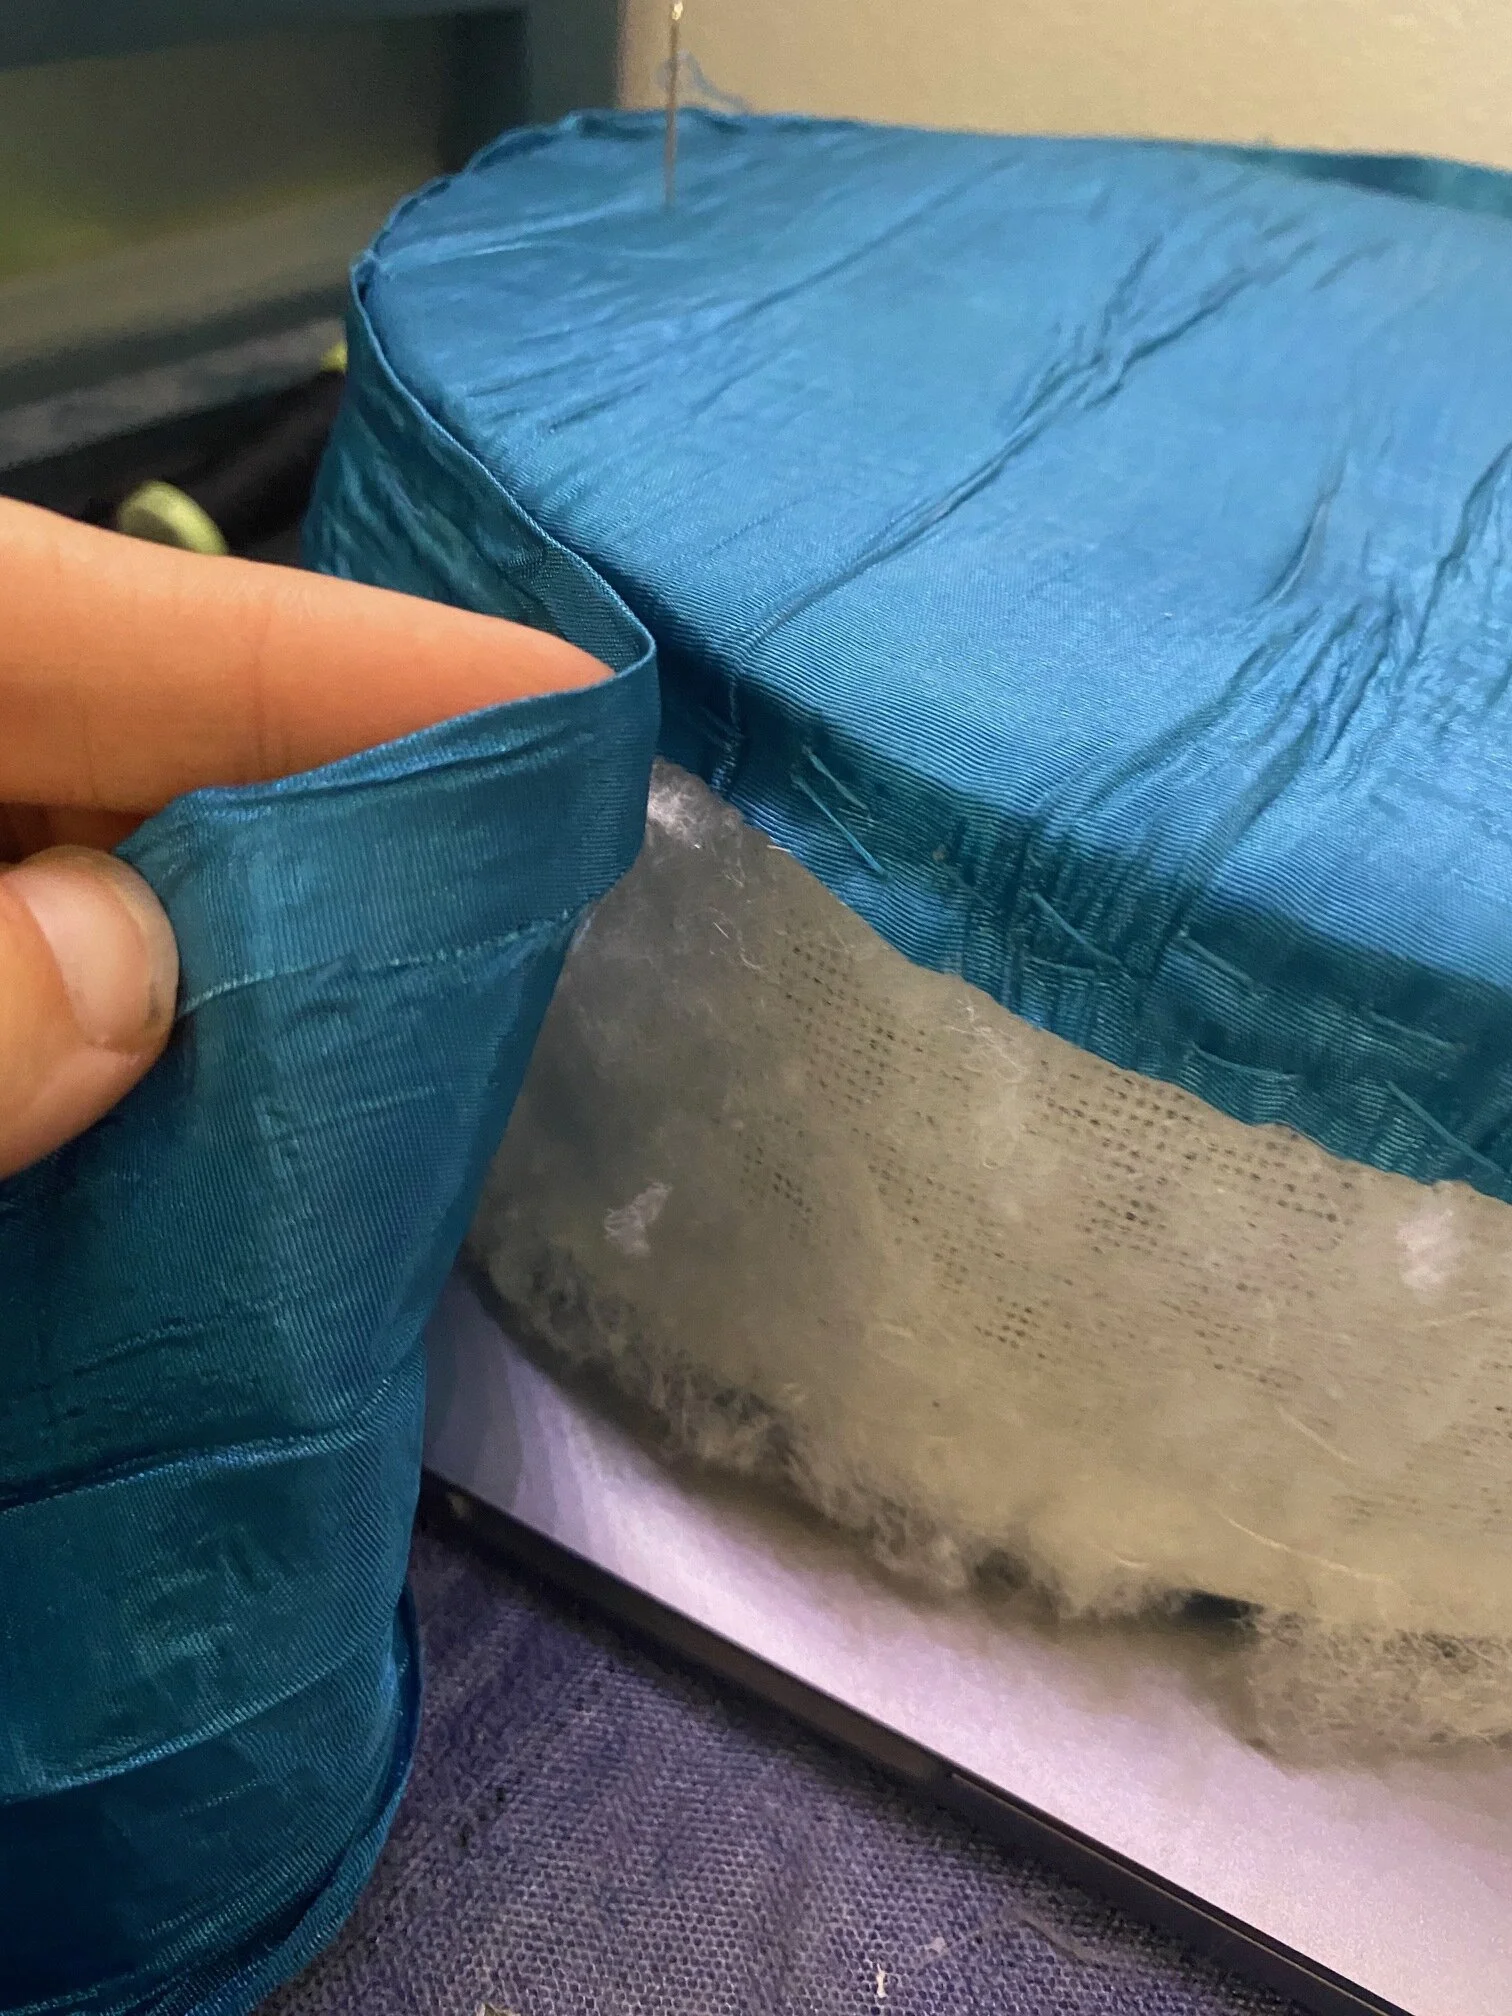
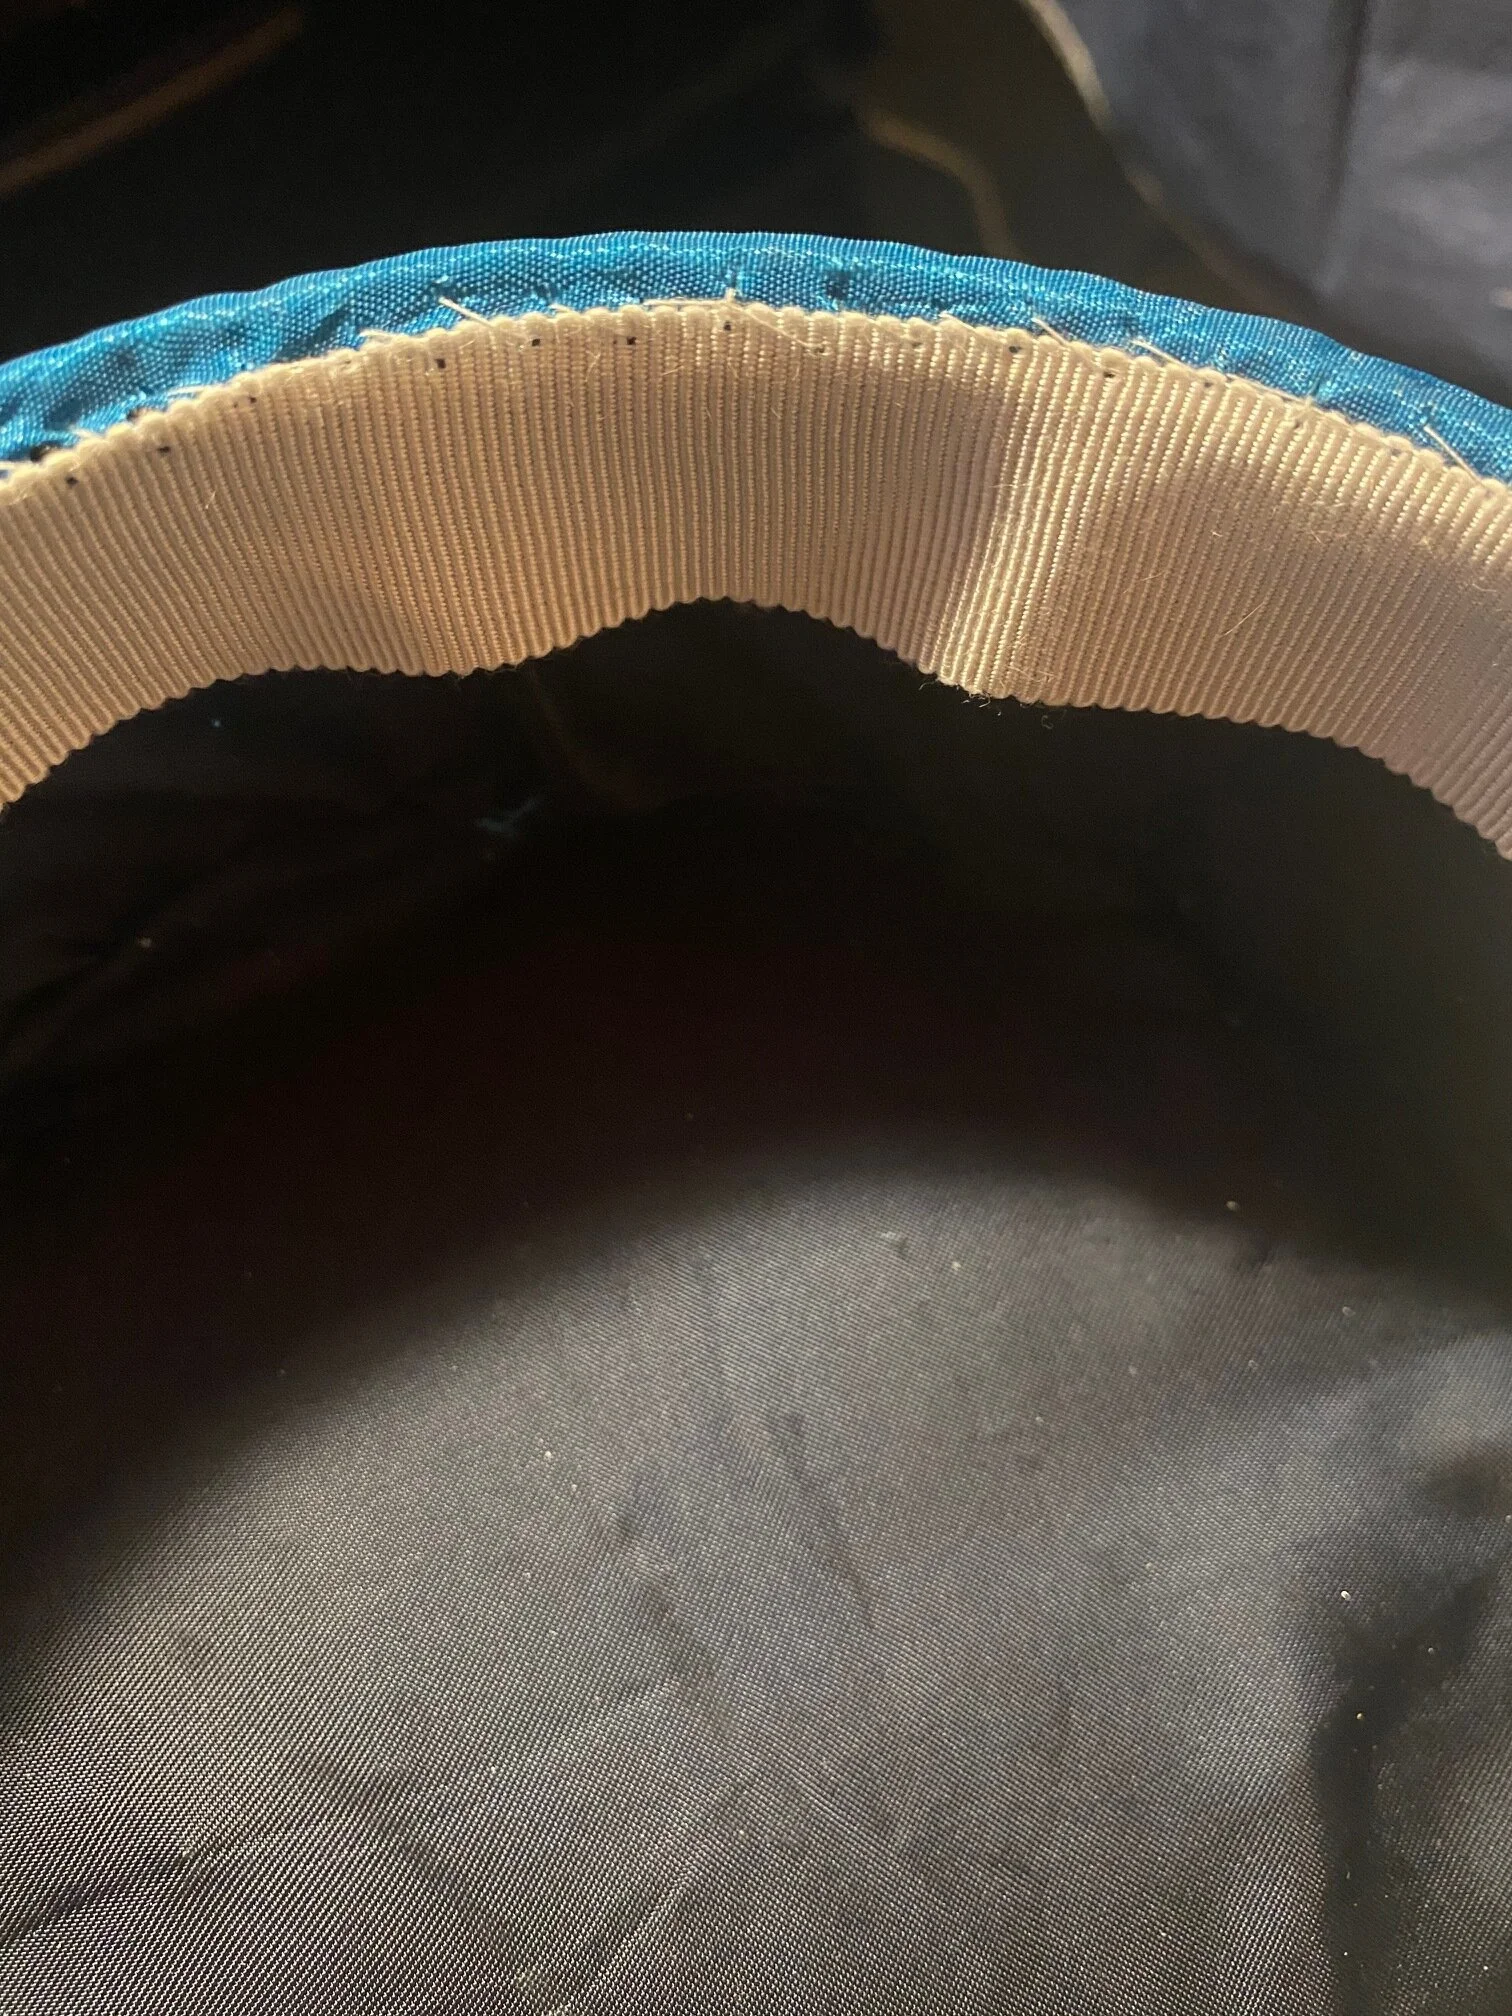
Pillbox Hat
I began by taking the necessary measurements of my head and created my pattern by modifying the master pattern in the book Stitches and Techniques. I transferred the tip and sideband pattern to Heavy-weight Buckram. I then used a blanket stitch to add a wire rim to the tip then attached the sideband. After adding wire to the bottom of the sideband, I took bias and covered the wire using a baste stitch. I also used a baste stitch to attach batting, using a concentric spiral on the tip. I attached the fashion fabric to the tip, keeping it taut, then attached the sideband fashion fabric with a slip stitch. The frog decor is sculpted air dry clay painted with acrylics. Under the lily pad and in the base of the frog is a magnet, making it detachable. The lotus flower decor is painted Worbla. The lining was done by sewing the lining for the tip and sideband together and mounting to the interior.
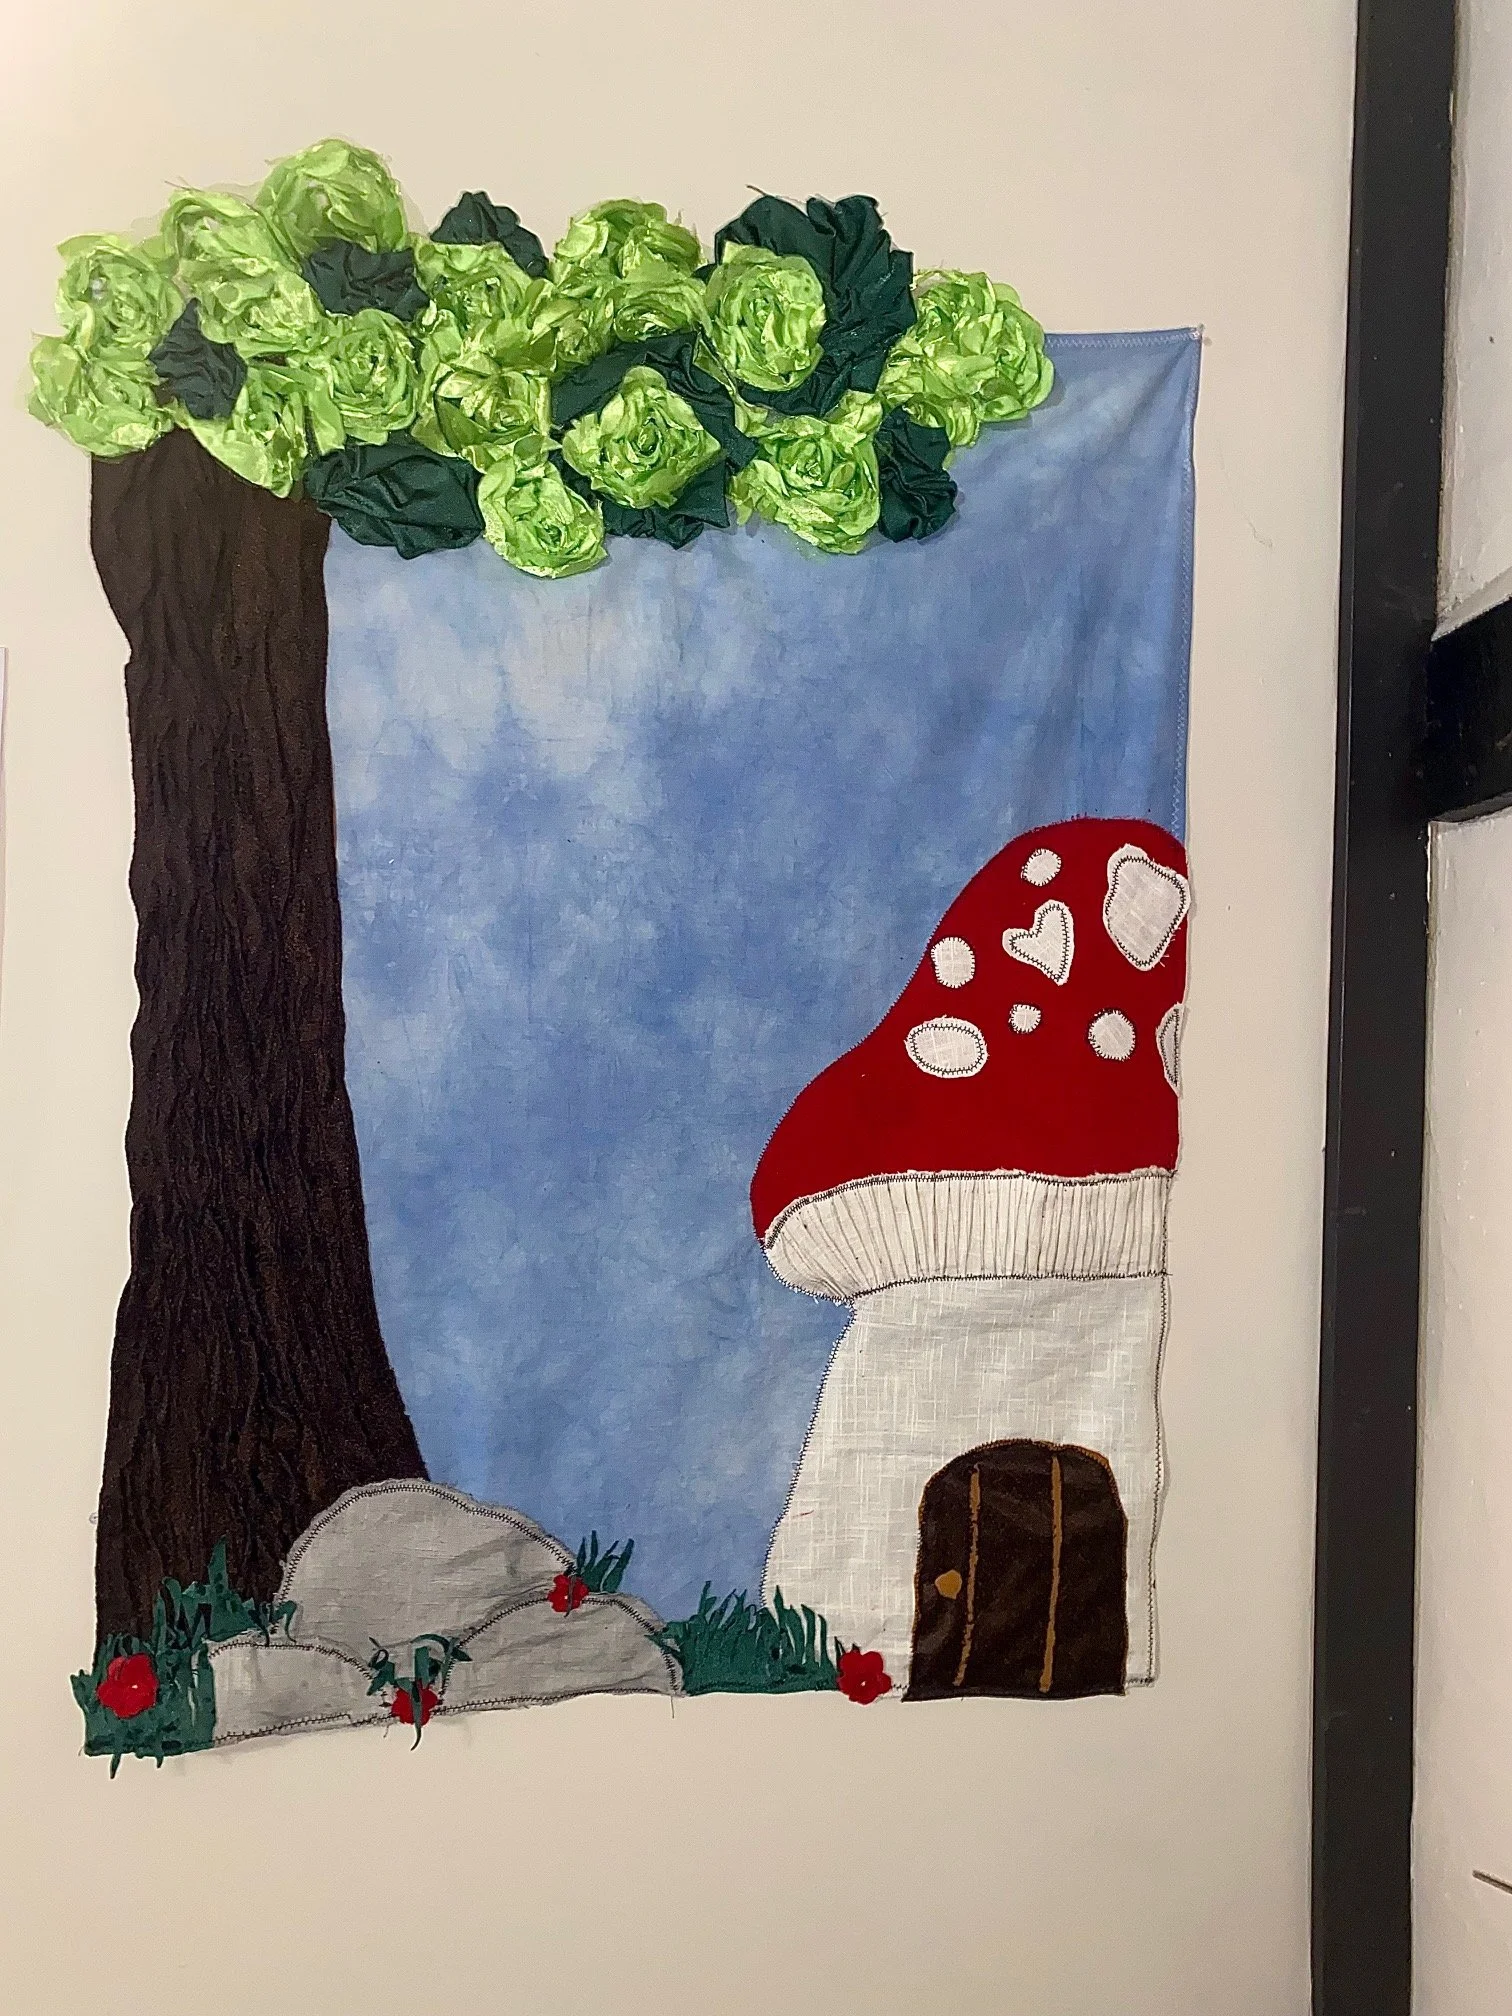
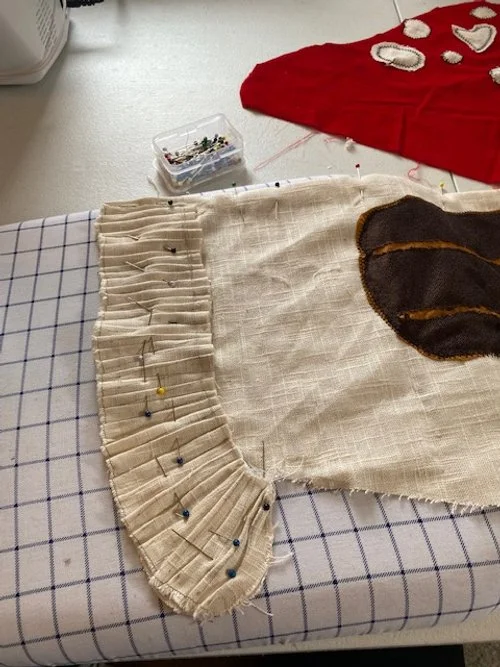
Textured Tapestry
The base is muslin I model dyed. Dark green leaves were achieved using a furrowing technique, and the underside of the mushroom is a box knife pleat. I created the bark texture by stitching an accordion fold then sewing randomized lines for additional grooves.
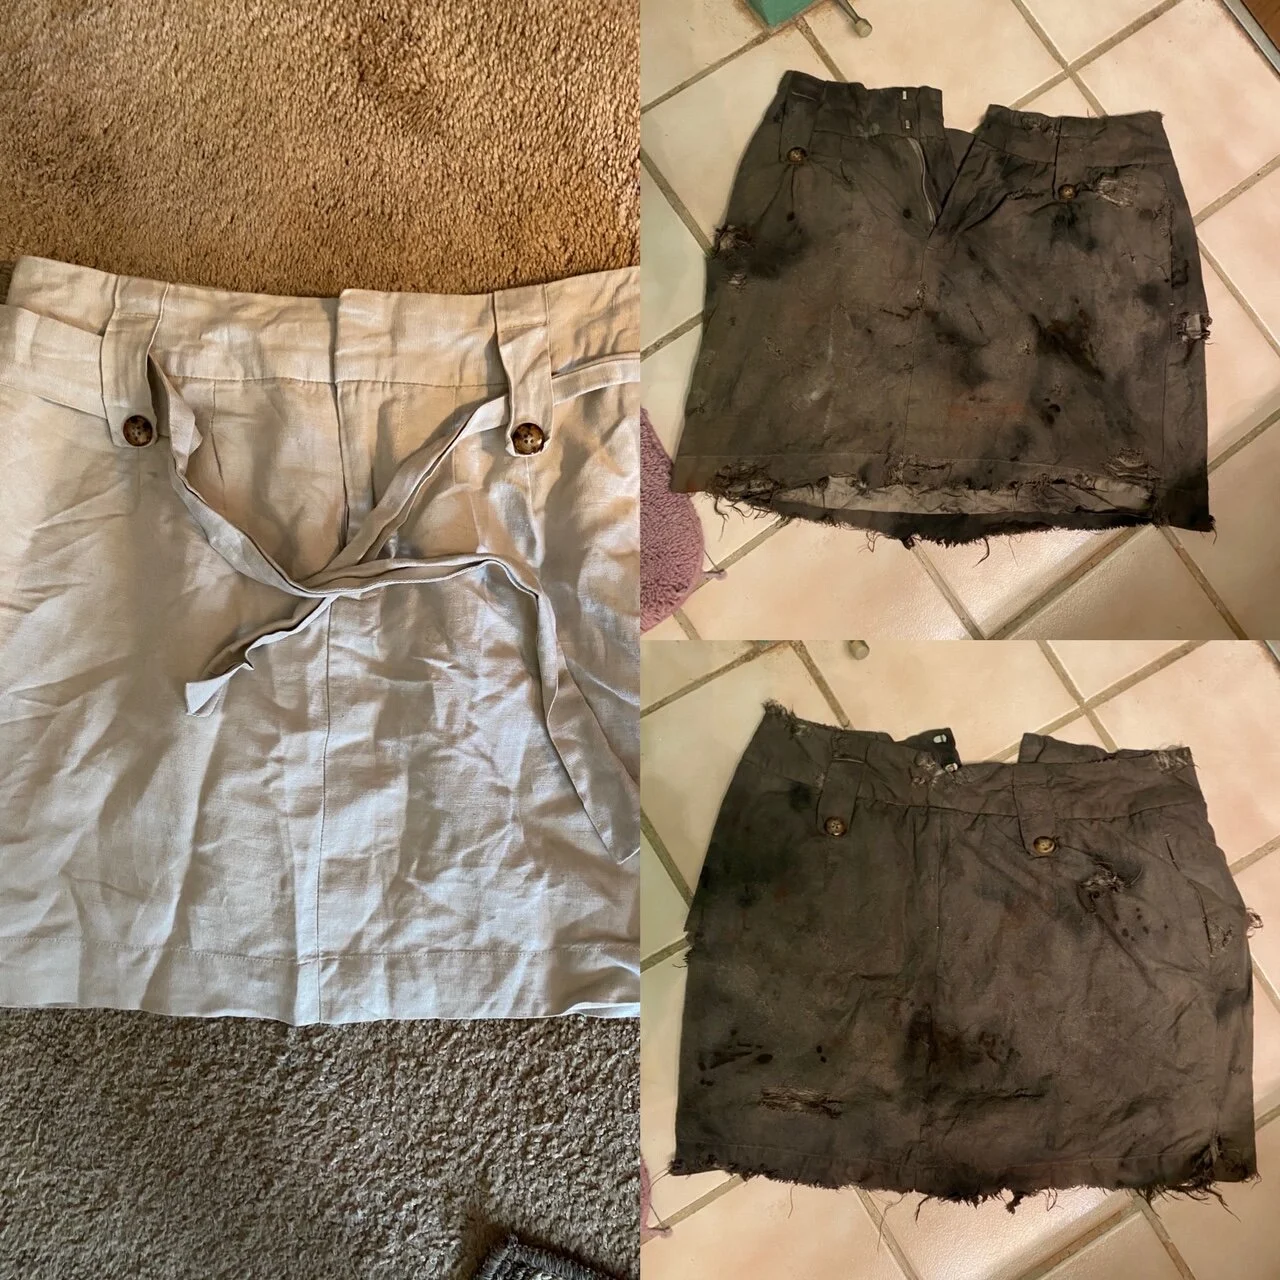
This project required using at home materials. The skirt was coffee dyed, blotted with black and brown acrylic paint and distressed with a razor blade and cheese grater.
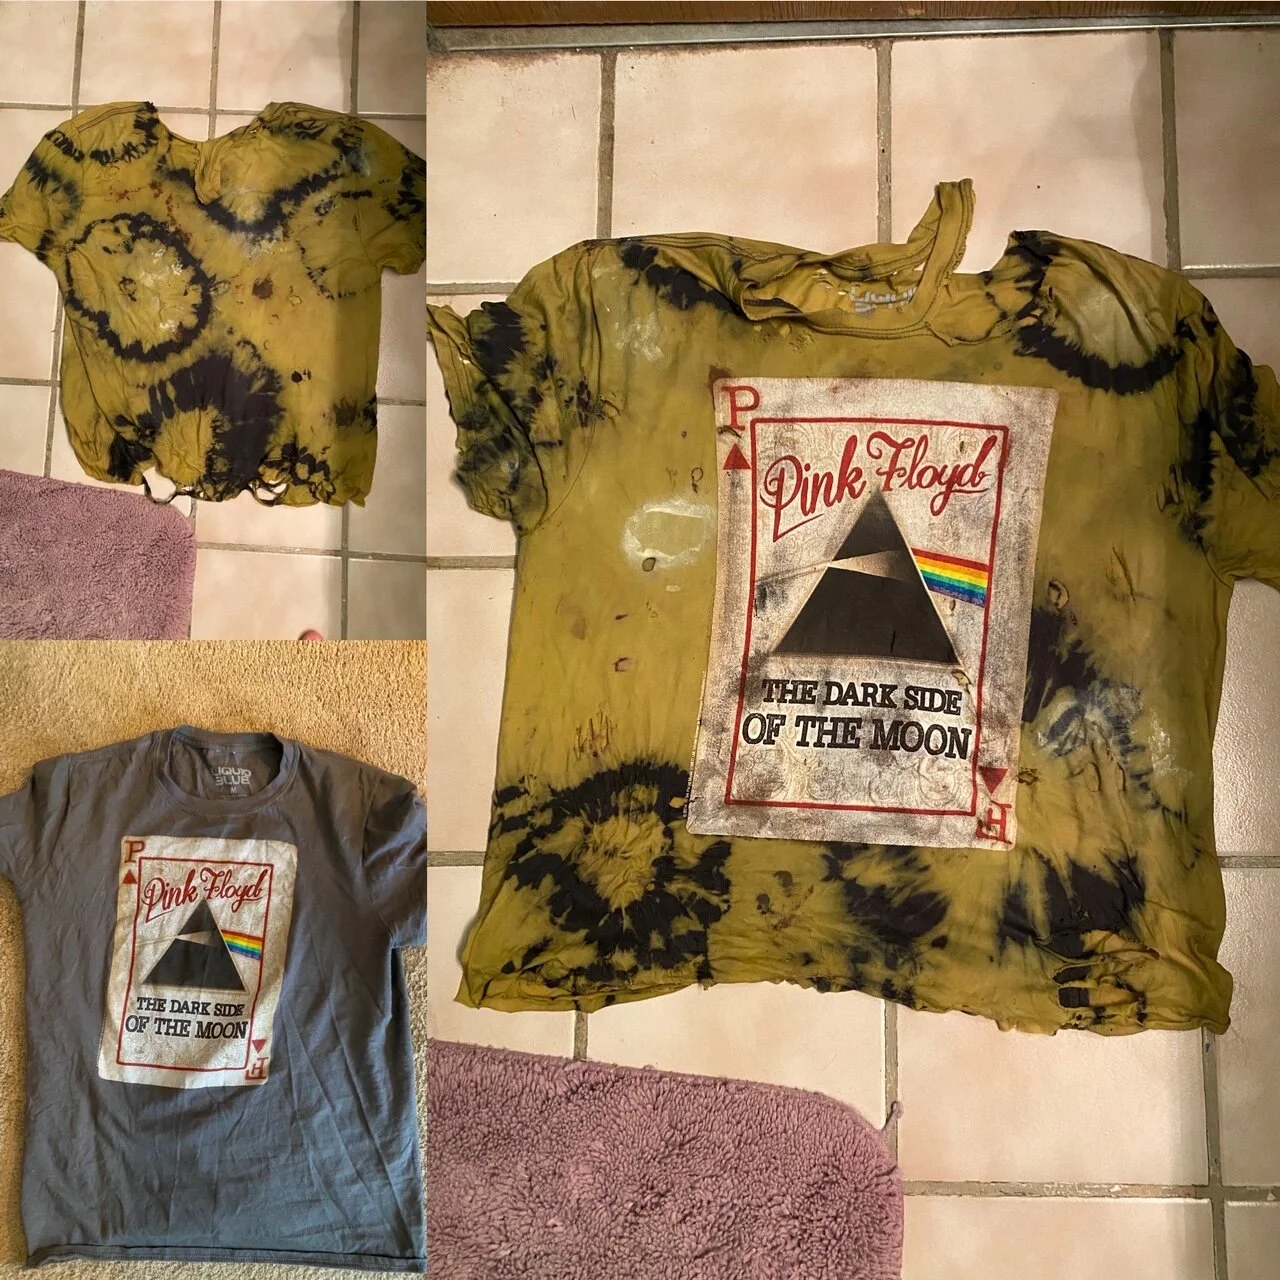
Distressing Project
The T-shirt was cut and distressed with a razor blade, the logo was sanded, some areas were burned, and the final step was using Rit Color Remover on the shirt after it was tied up using a Shibori Method.
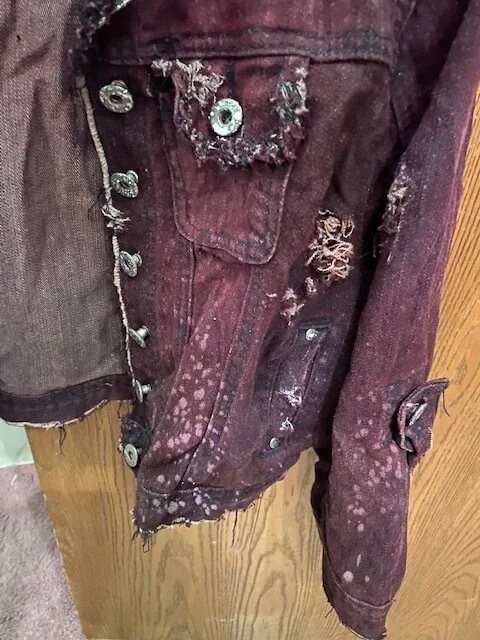
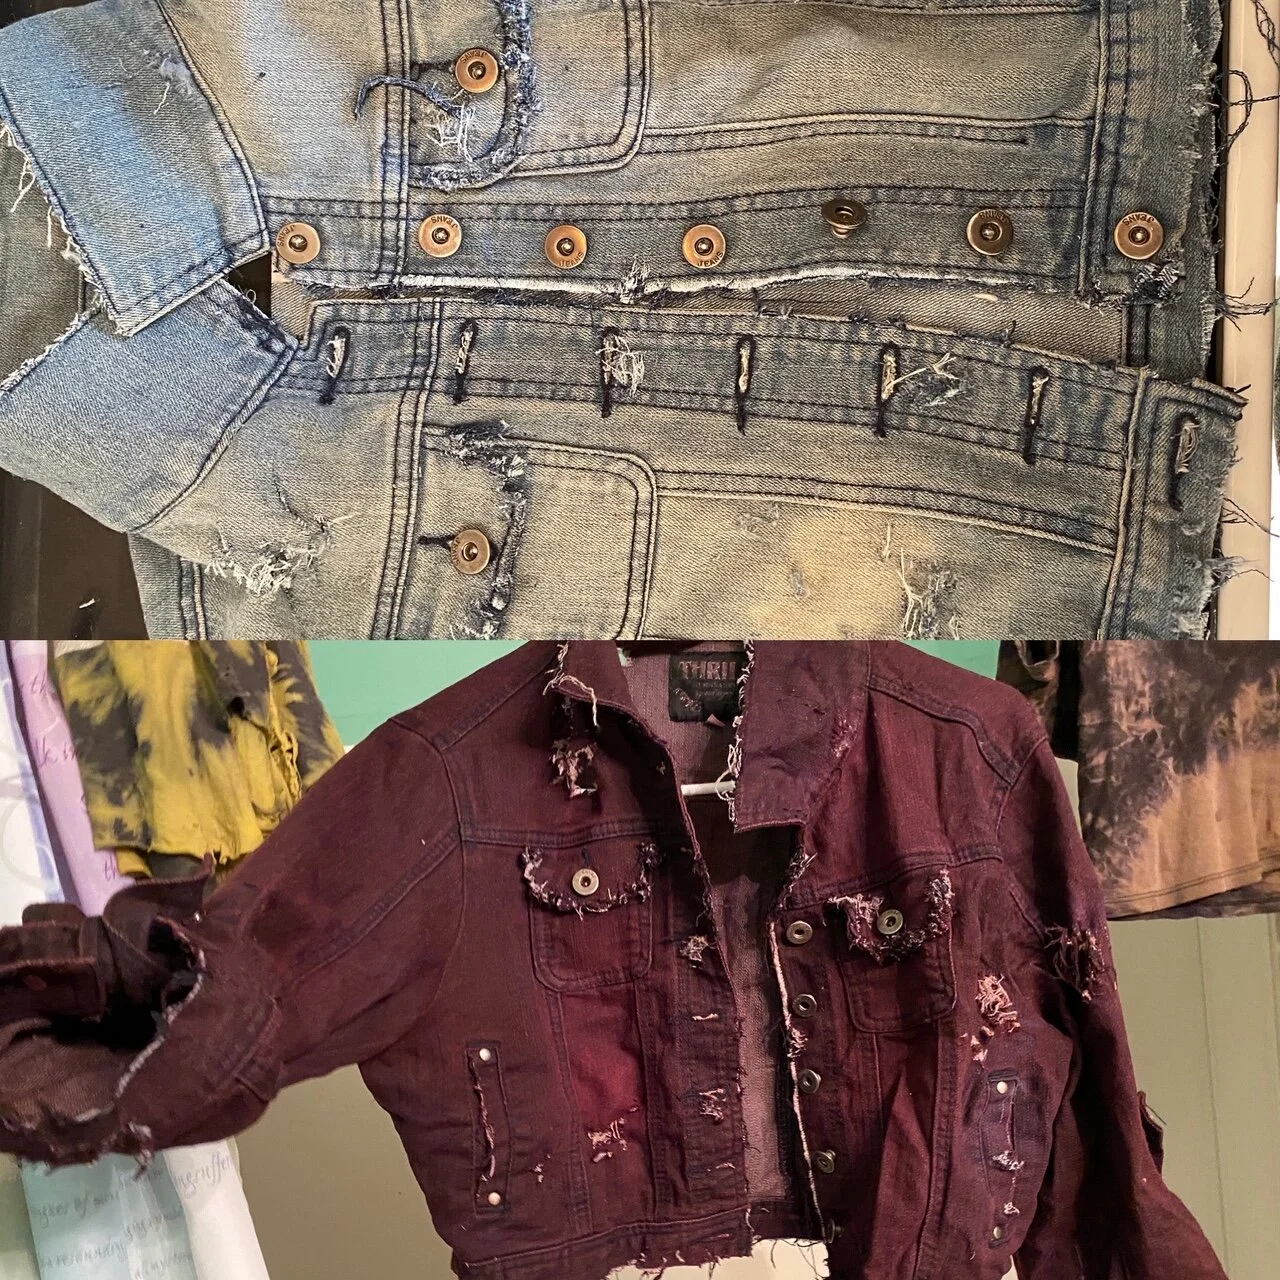
The jacket was distressed using a razor blade then dyed using Rit wine color dye. Once heat set, white spatter was added using a spray bottle and watered down acrylic paint.
Denim Jacket Dye and Distressing
Dye Technique Samples
Techniques including Batik, Shibori, rust dye, model dye, ombre, Dye Na Flow, discharge paste, making stencils and stamps, marbling and Devore.
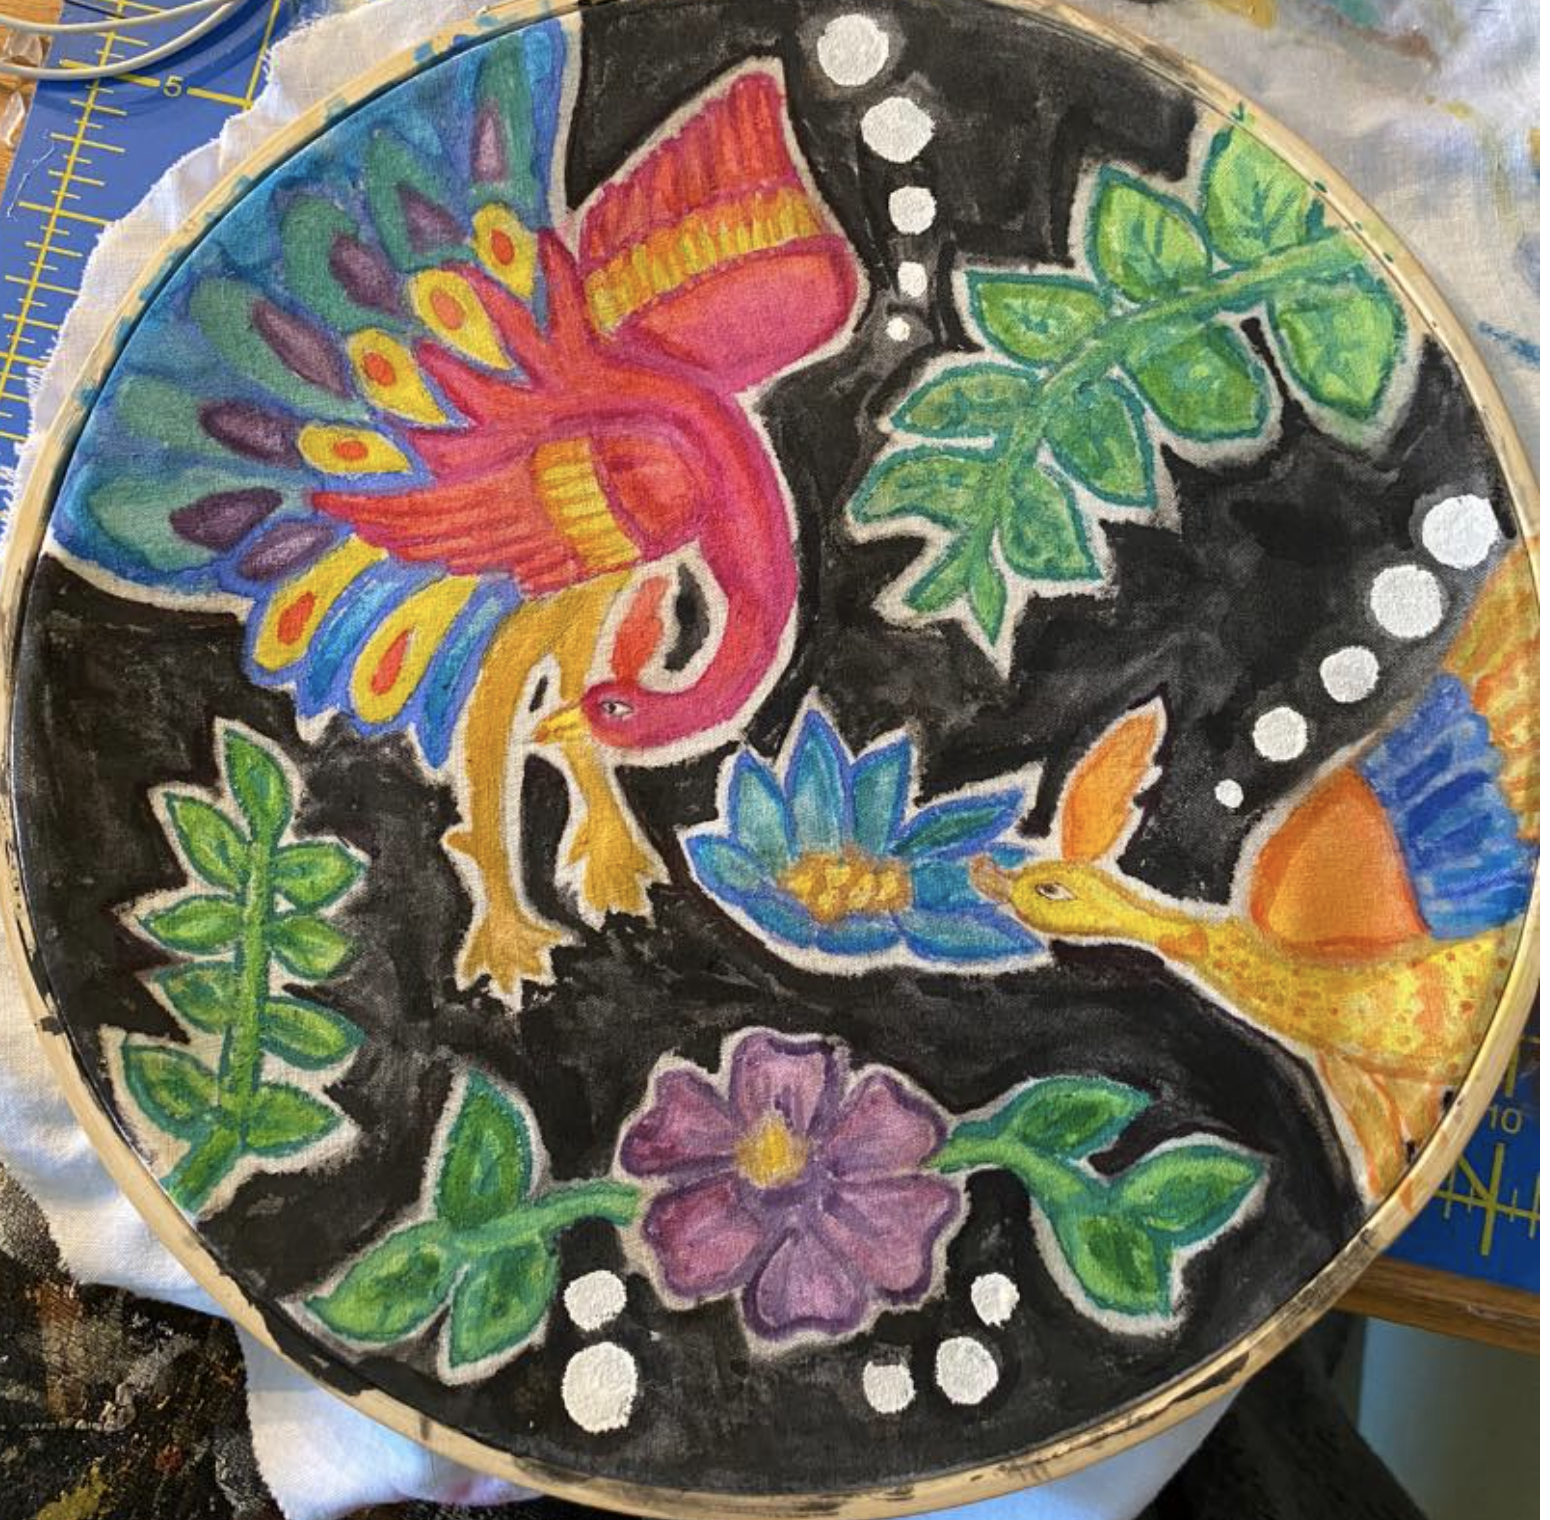
Batik with watercolor
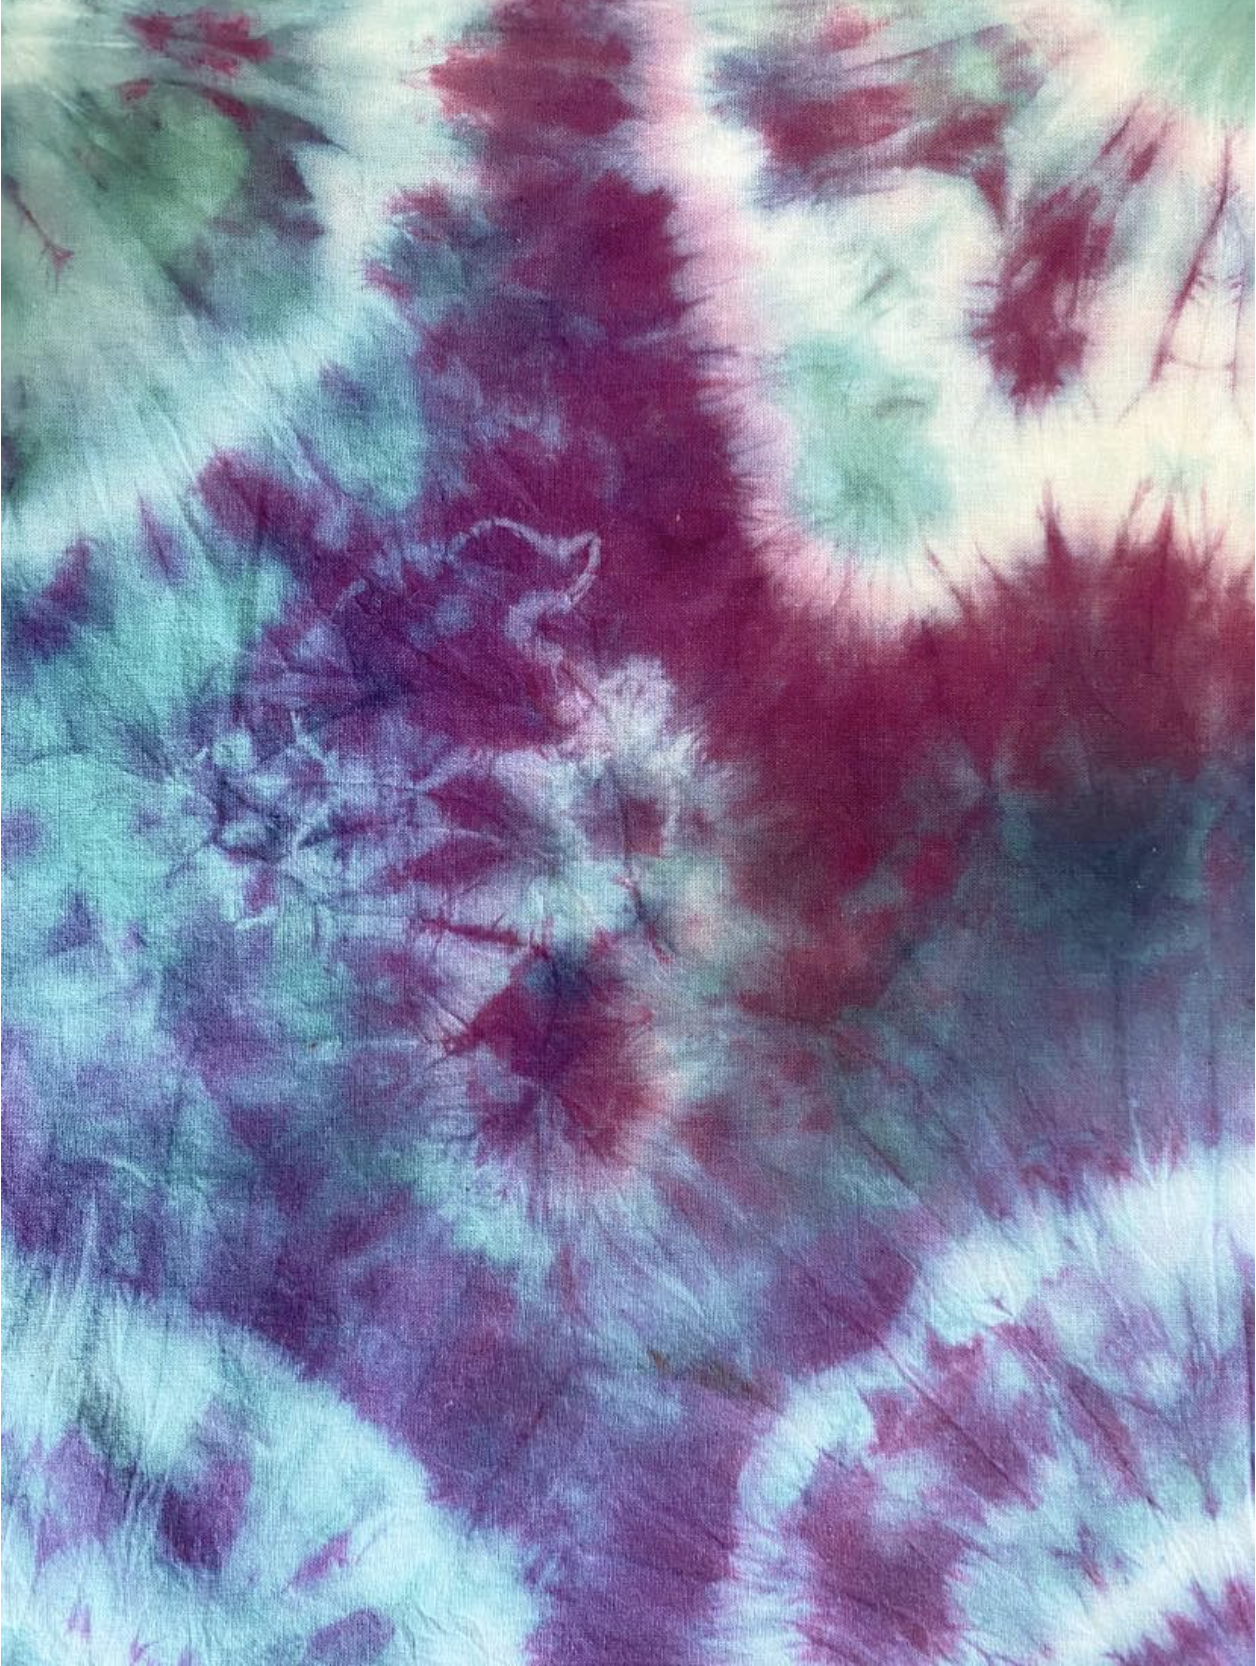
Shibori
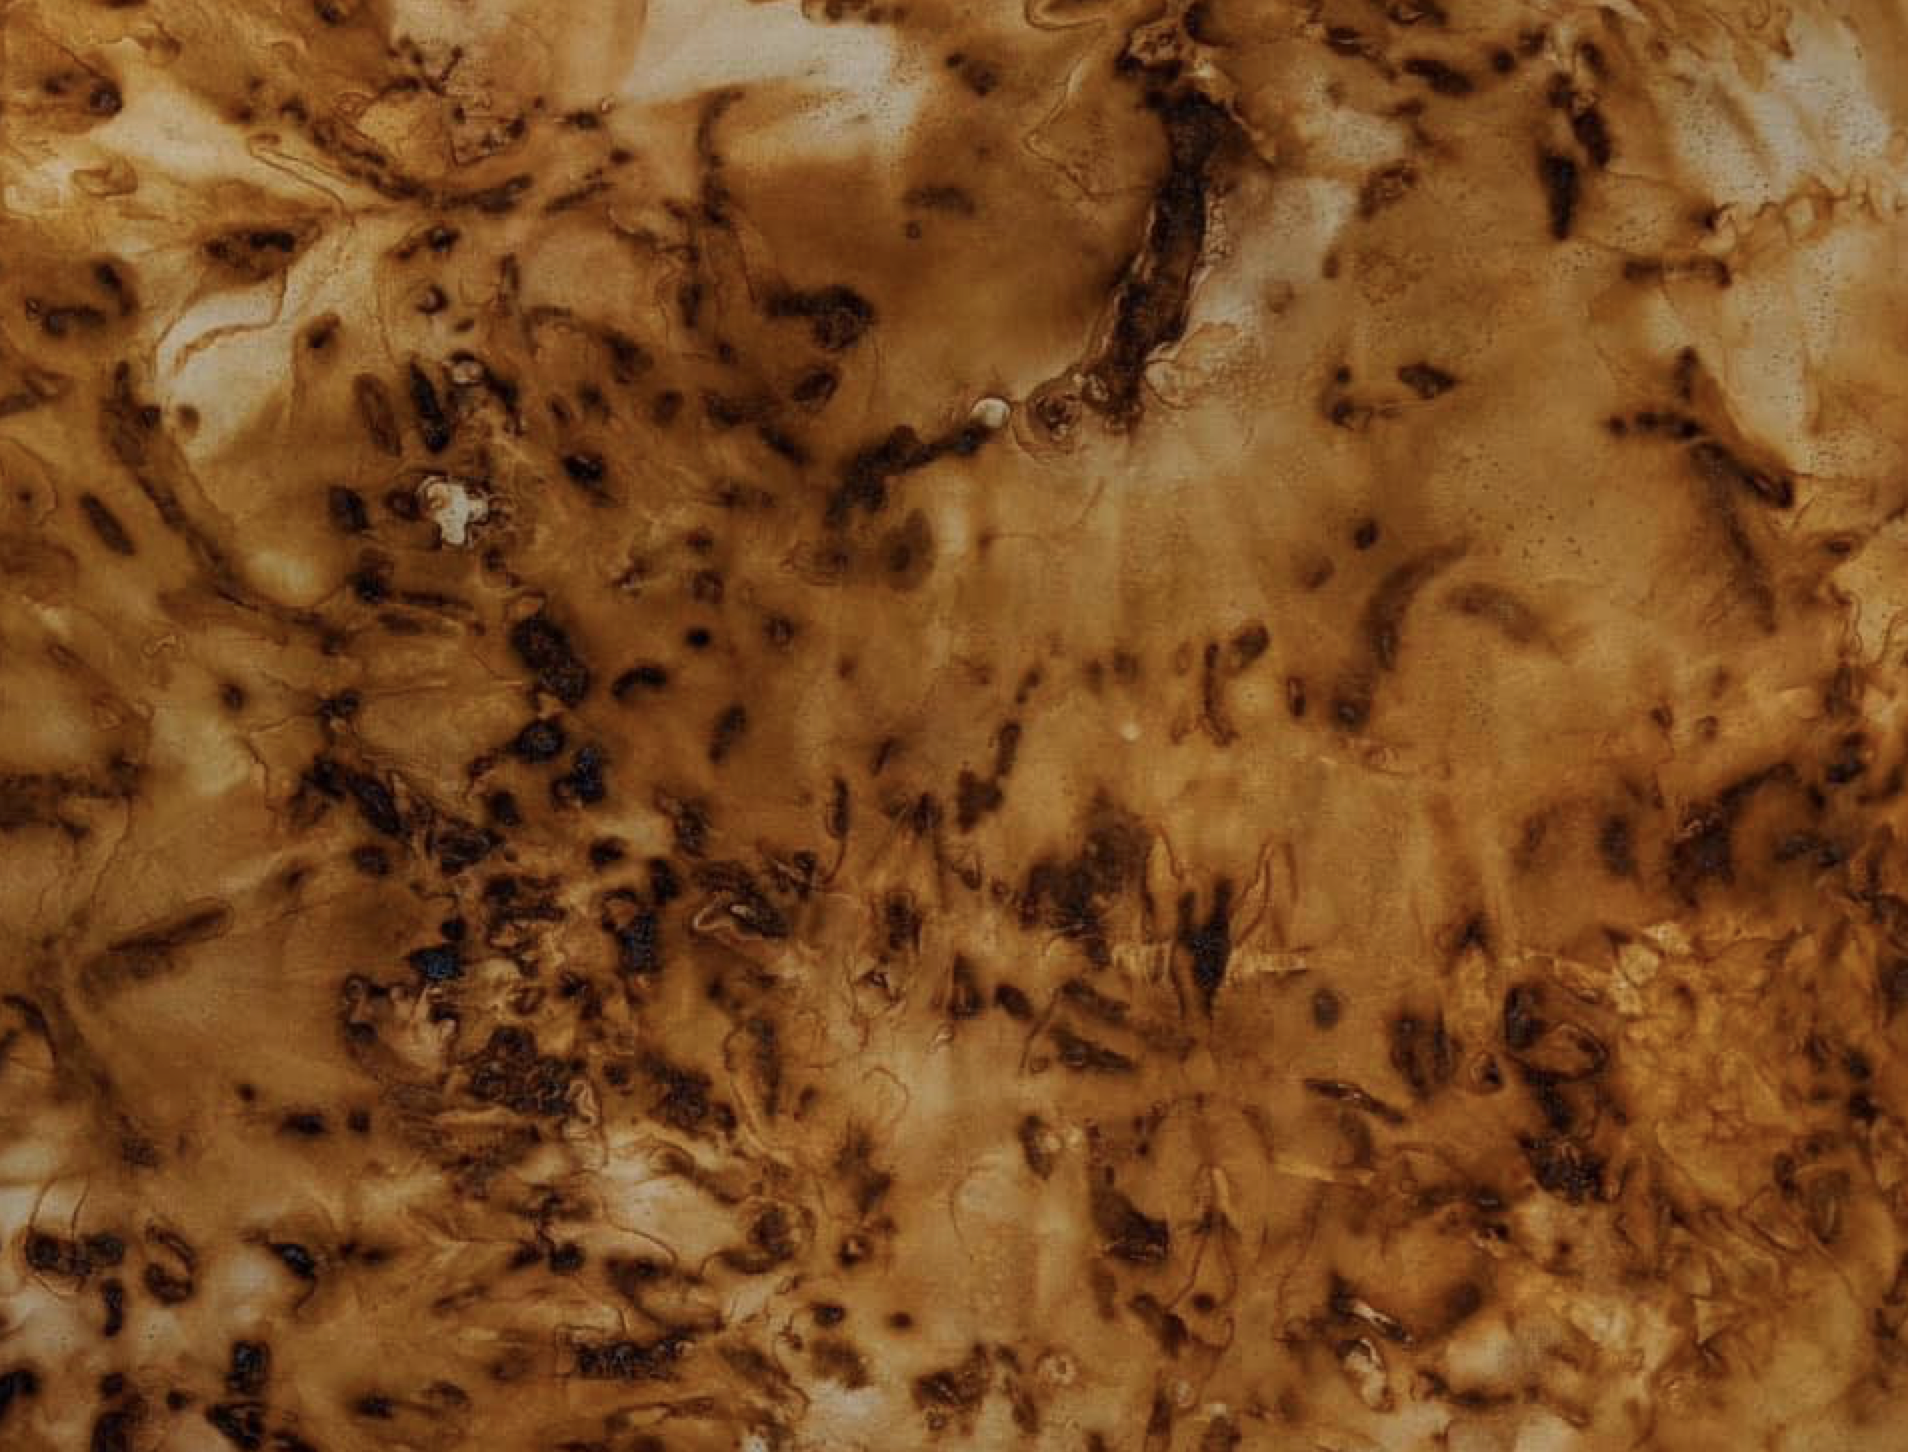
Rust Dye

Dye Na Flow
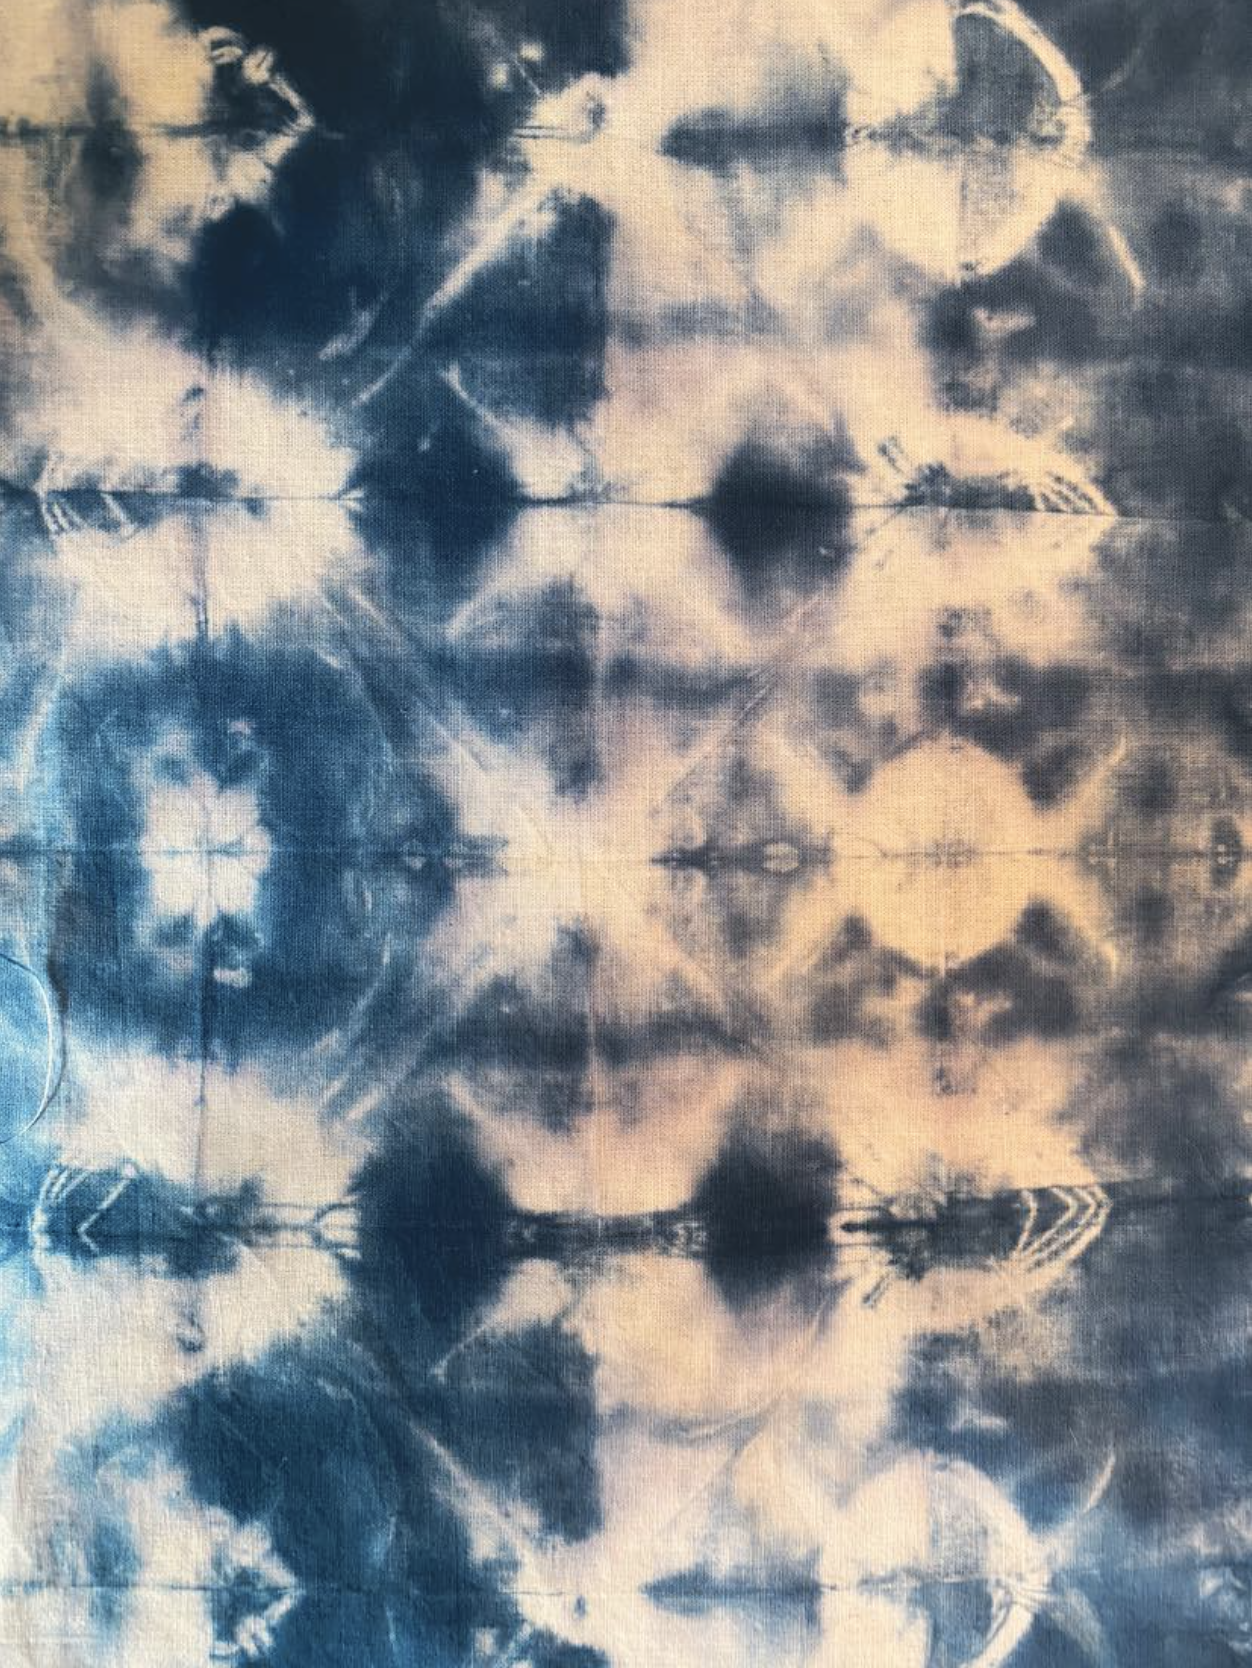
Shibori

Stencil with Discharge Paste and Model Dye
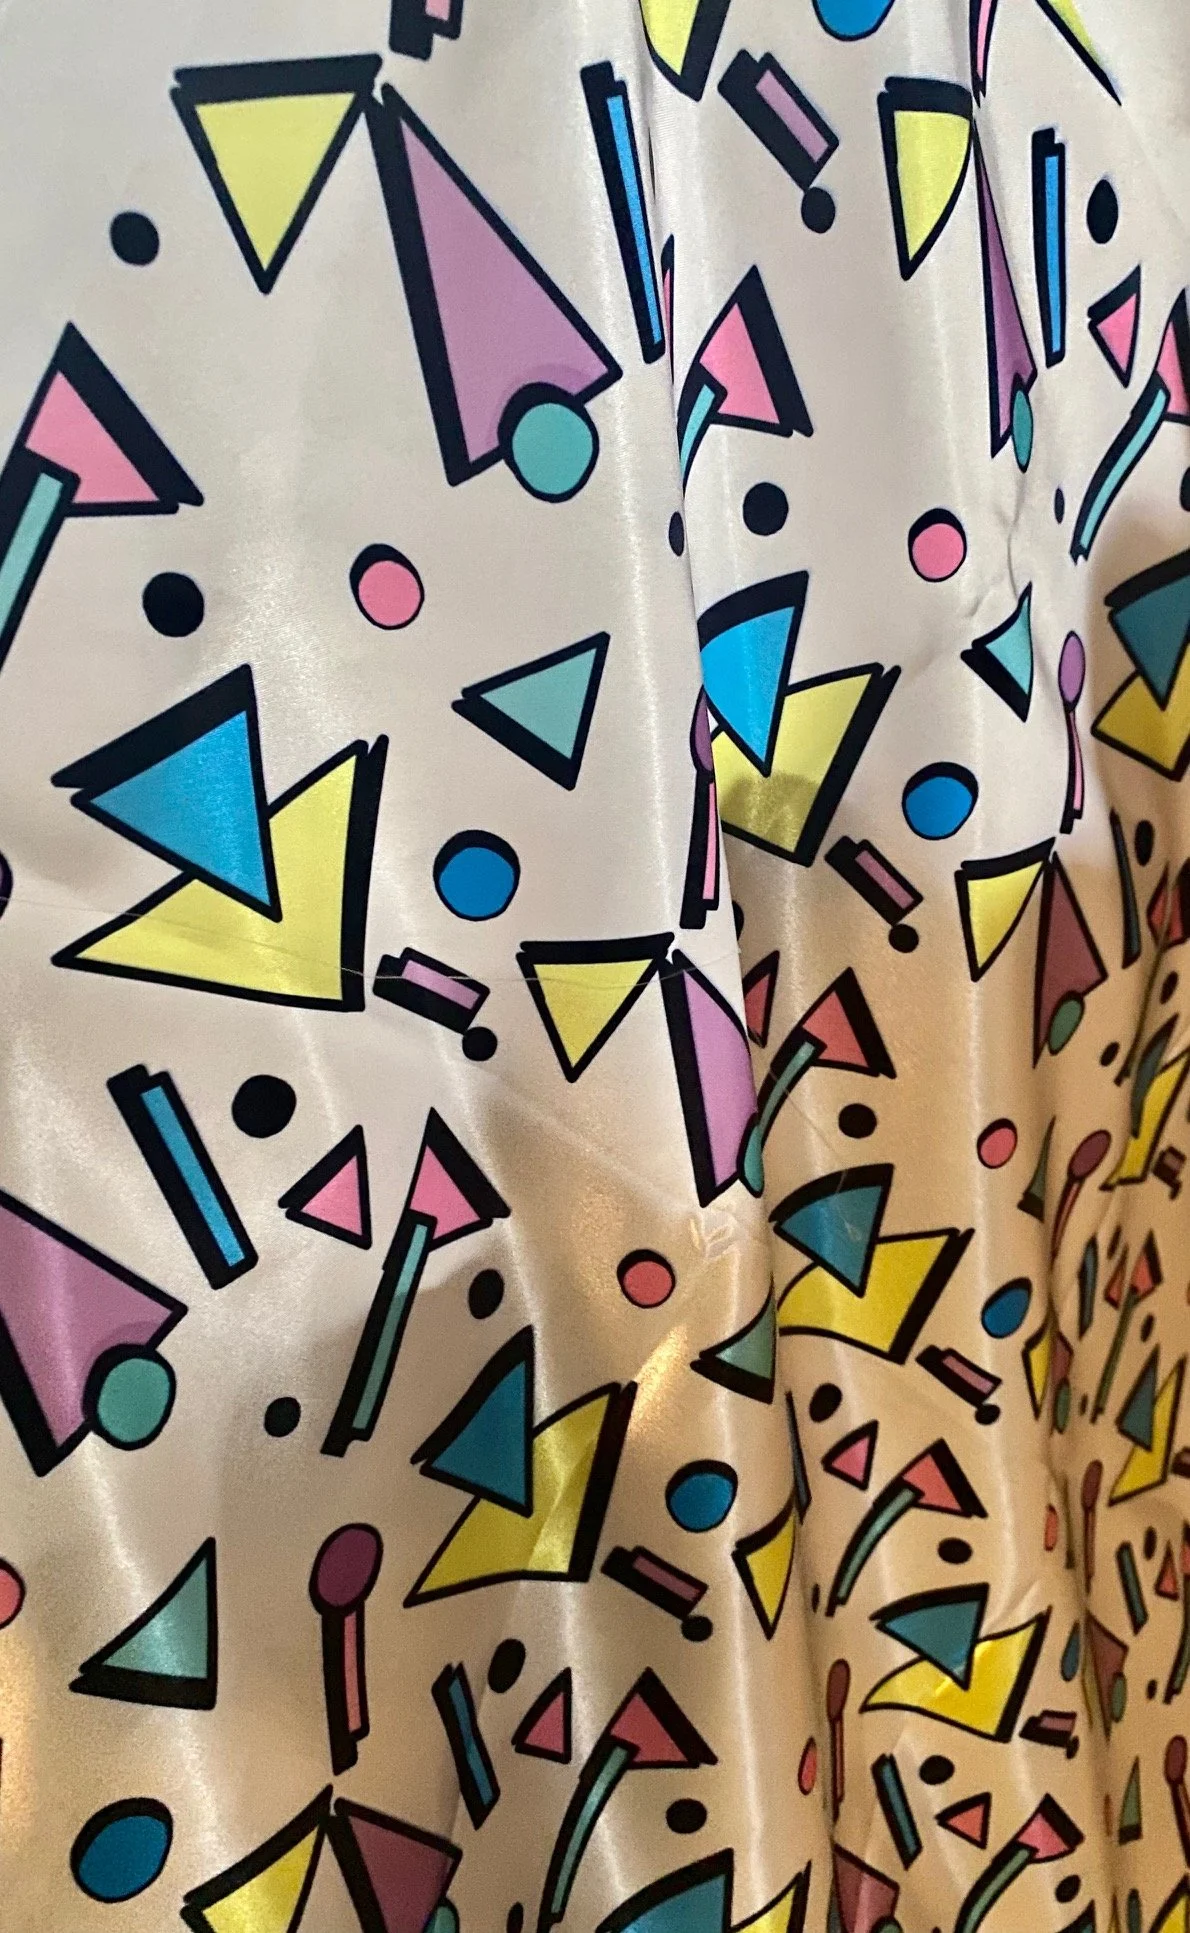
Conceptualized Fabric Design
Using Tayasui Sketches, I rendered a design and using SpoonFlower’s services, had one yard printed on a satin fabric.
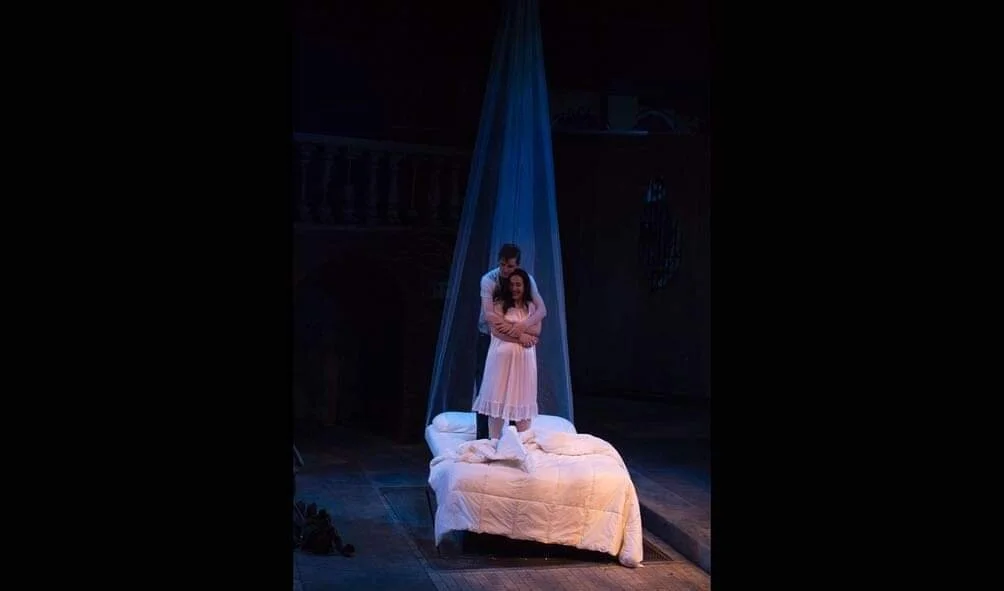
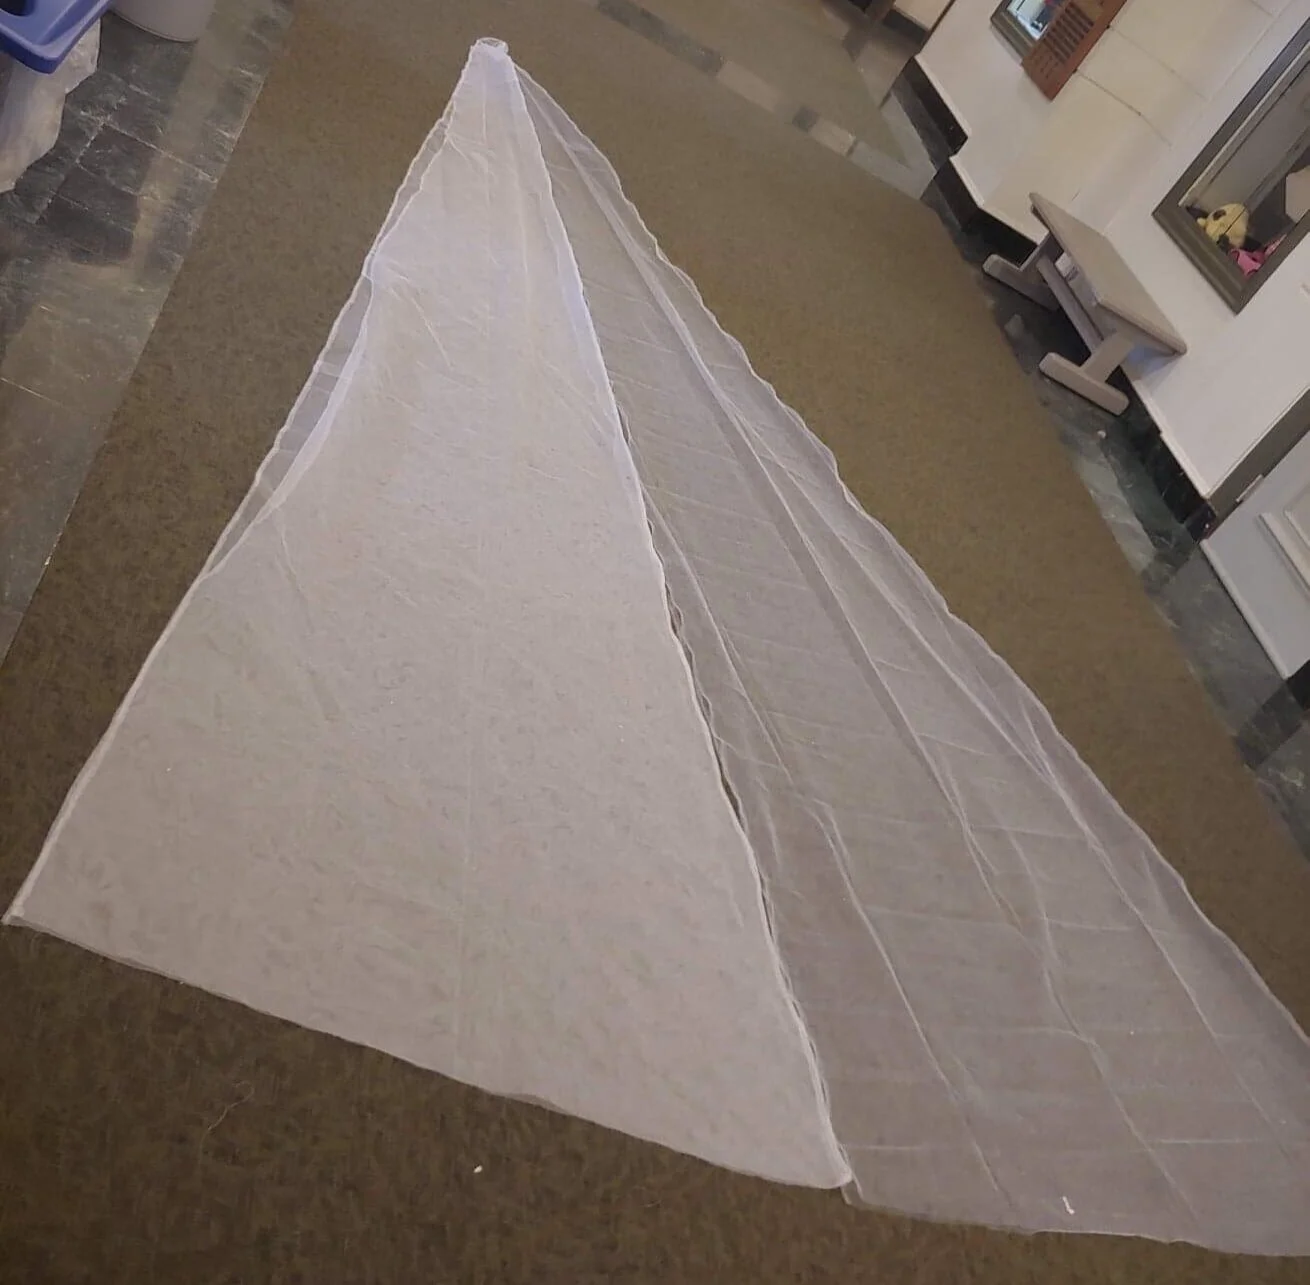
The canopy had to be be able to drop on the actors so no suspending hardware could be permanently attached. The canopy is three 21’ triangles attached together using a French seam.
Romeo and Juliet Canopy
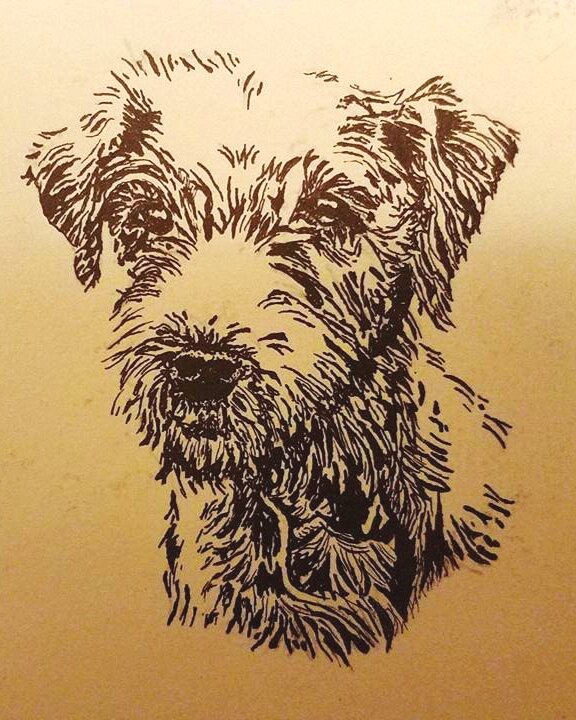
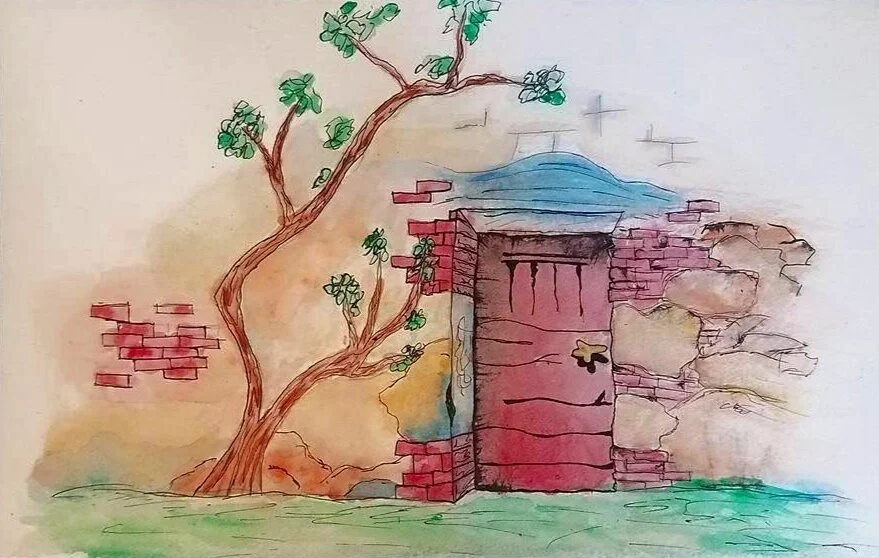
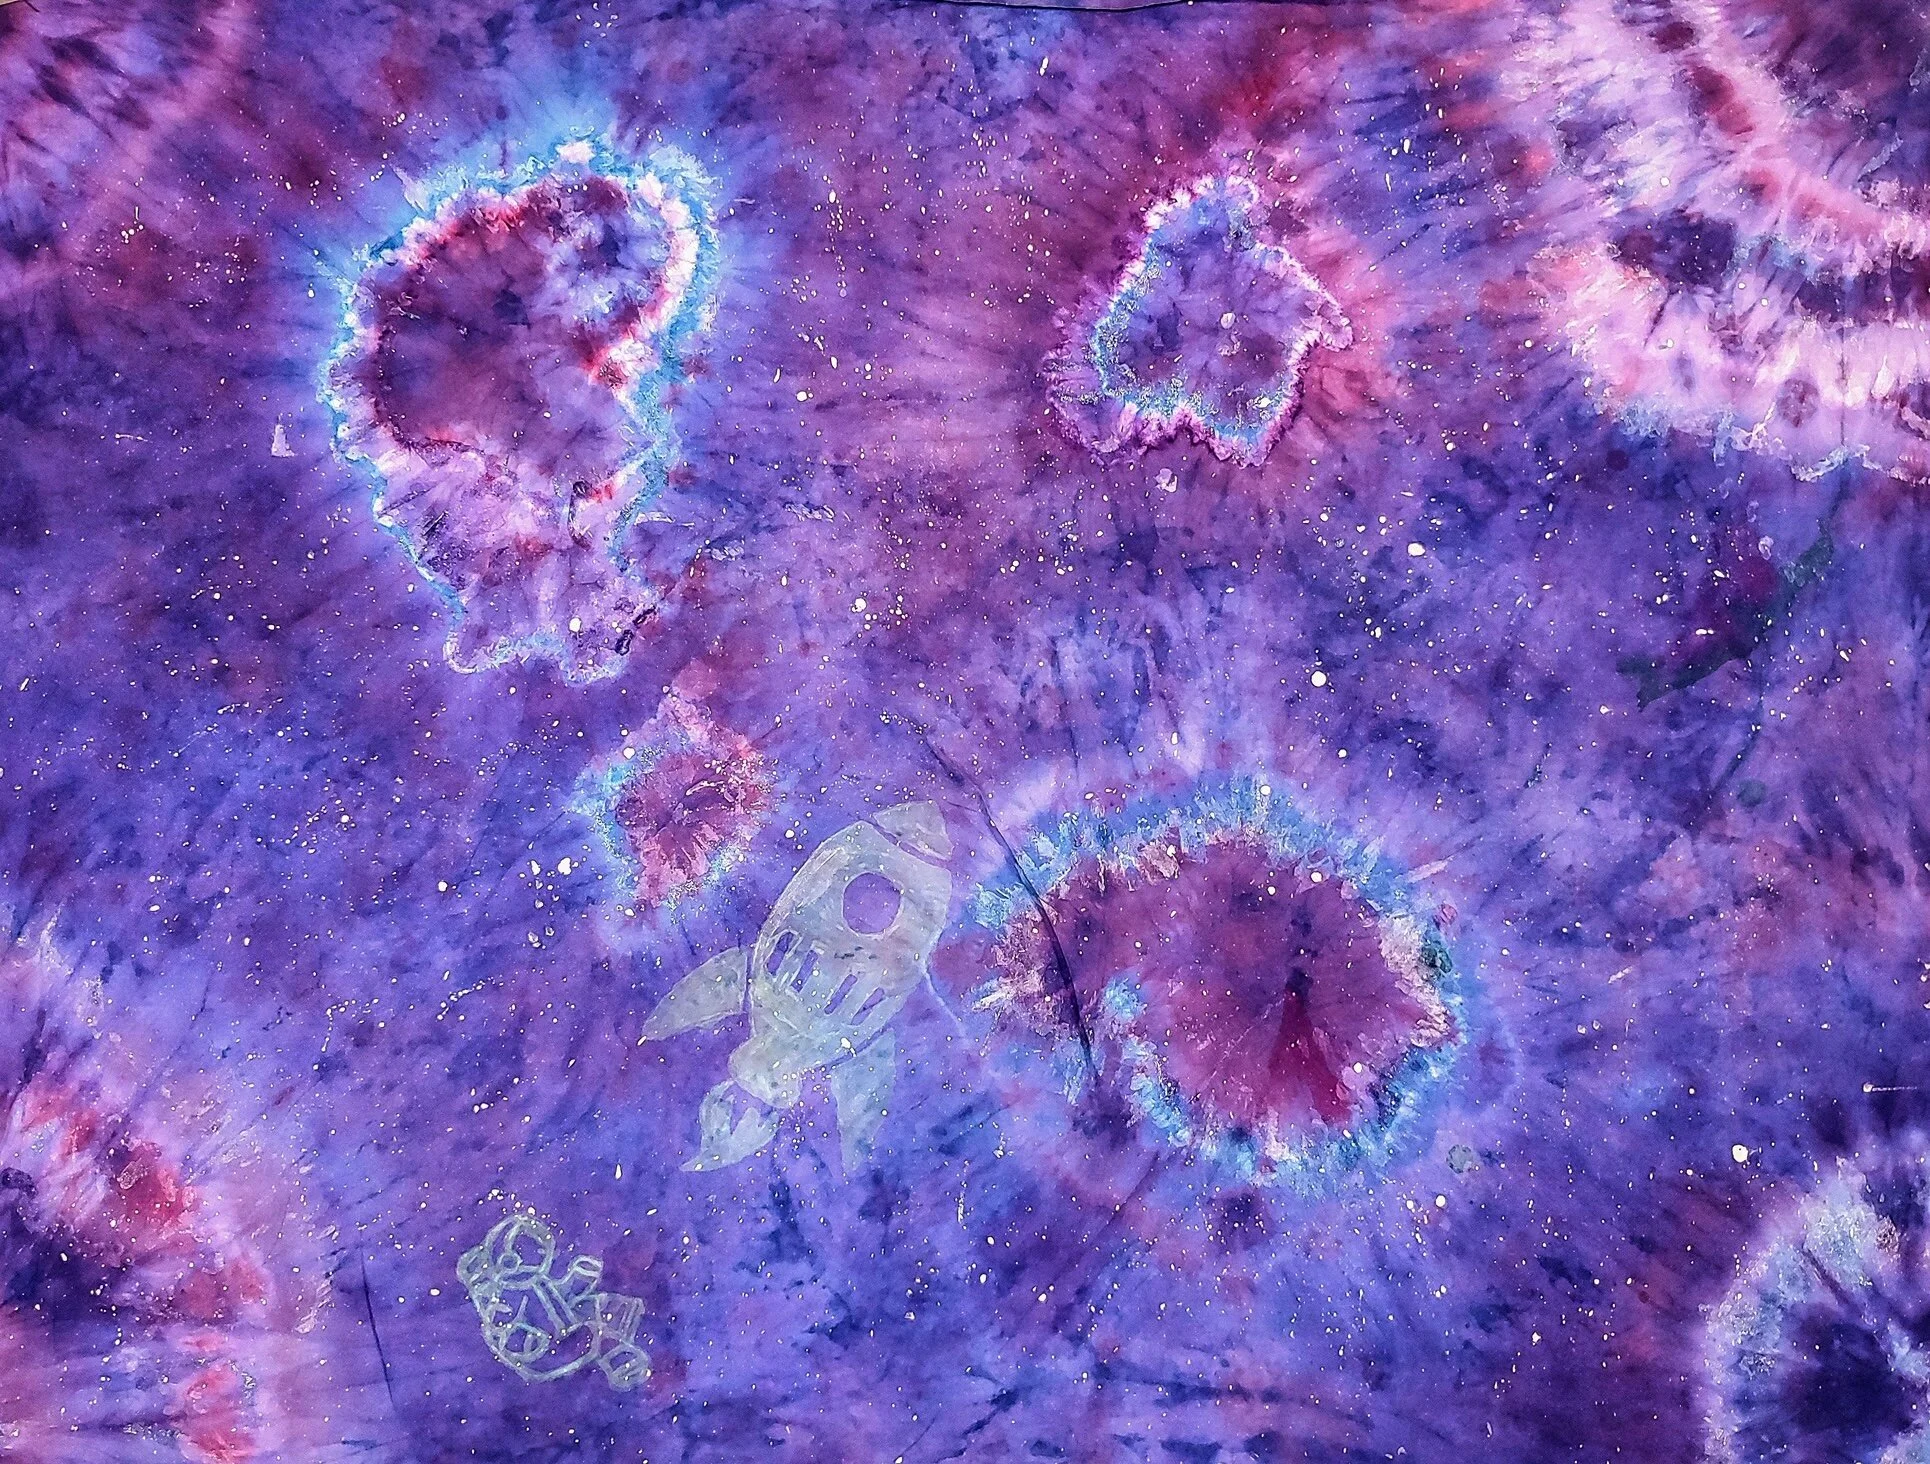
Other Miscellaneous Art